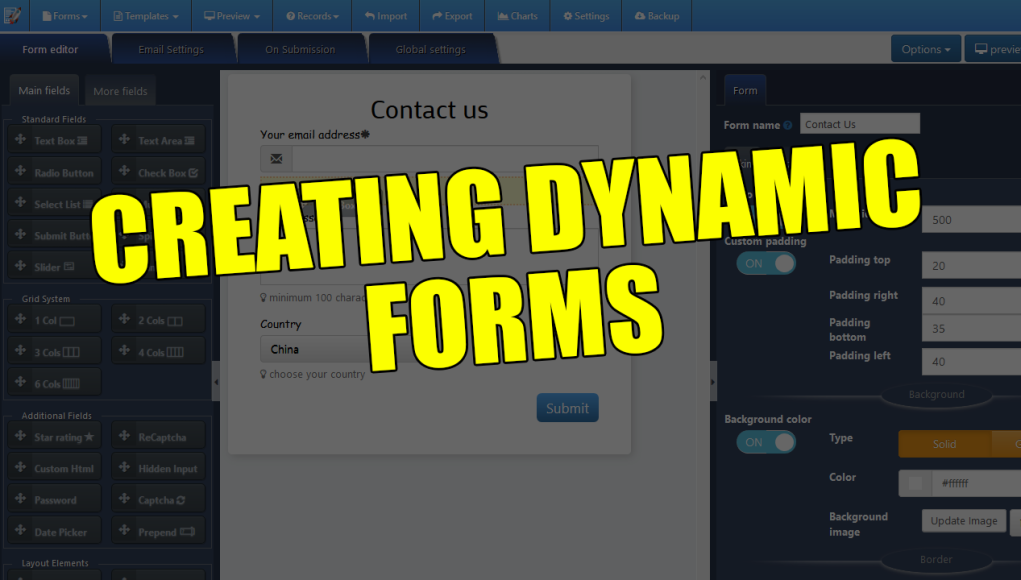
Creating forms in WordPress can be a breeze with the right tools and techniques. In this comprehensive guide, we’ll walk you through the process of building a form from scratch using the built-in features of WordPress.
Getting Started: To begin, navigate to your WordPress dashboard and locate the form builder plugin. Once activated, you’re ready to start crafting your form.
Choosing Templates or Manual Setup: While templates can be convenient, we’ll opt for manual setup to have full control over the form’s design and functionality.
Designing the Form: Start by adding a heading and customizing it to your liking. You can adjust the alignment, color, and even add background colors if desired.
Adding Input Fields: Next, we’ll add input fields such as text boxes and text areas for users to provide their information. Customize each field’s appearance and settings according to your needs.
Validation and Logic: Implement validation rules to ensure that users provide required information. Additionally, set up conditional logic to show or hide certain fields based on user input.
Checkboxes and Select Lists: Incorporate checkboxes and select lists for users to choose from predefined options. You can organize checkboxes into columns for better presentation.
Custom HTML and Dynamic Radio Buttons: For advanced customization, include custom HTML elements and dynamic radio buttons with images for a visually appealing form.
Mail Notification Setup: Configure mail notifications to receive form submissions via email. You can customize the email content and include dynamic variables for personalized messages.
Success Message and Redirection: Define a success message to display after form submission. Optionally, set up page redirection to direct users to a specific URL upon successful submission.
Advanced Settings and Options: Explore additional features like reCAPTCHA integration, custom CSS, and JavaScript for enhanced form functionality and security.
Exporting Records and PDFs: Utilize features to export form submissions as records or PDF files for easy management and storage.
Shortcodes and Integration: Generate shortcodes or widget codes to embed the form into your WordPress posts or pages seamlessly. Integration with third-party platforms is also possible using iframe codes.
Testing and Validation: Before going live, thoroughly test the form to ensure all elements function correctly. Validate form submission, conditional logic, and mail notification settings to iron out any issues.
Final Touches: Once satisfied with the form setup, save your changes and review the form’s appearance and functionality. Make any final adjustments as needed.
Support and Further Assistance: If you encounter any difficulties or have questions along the way, don’t hesitate to reach out for support. Leave your inquiries in the comments section, and we’ll be happy to assist you.
Creating forms in WordPress doesn’t have to be daunting. With the guidance provided in this article, you’ll be equipped to create custom forms tailored to your website’s needs efficiently. Thank you for joining us on this form-building journey!


