Adhering to a certain set of coding standards is important when it comes to writing good quality code. It makes your code easier to maintain and read not only for yourself but other developers as well.
WordPress has its own set of coding standards and it is something you should to follow if you plan to contribute to Core, plugins or themes. Even if you are not, it’s still a good way to level up as a Developer.
Before we look at the steps, I’m going to assume you already have Composer installed. If not, here’s the official documentation on how to get it up and running.
- Install PHP CodeSniffer (PHPCS)
composer global require "squizlabs/php_codesniffer=*"
PHPCS is a development tool that detects violations of coding standard and automatically corrects them. Do note that PHP 5.4 or greater is required.
- Download WPCS
git clone -b master https://github.com/WordPress/WordPress-Coding-Standards.git wpcs
cd to your desired directory and run the above command in your terminal. This will download WPCS into a folder called wpcs.
Personally, I’d create a Utilities folder and place coding standards, custom rulesets etc. inside.
- Add WPCS to PHPCS
/path/to/composer/vendor/bin/phpcs --config-set installed_paths /path/to/WPCS, /path/to/another-standards
Now that we have WPCS and PHPCS in our system, we can run the above command and the latter know where our coding standard is located.
If you are getting the command not found: phpcs message, ensure that your path to PHPCS is correct. Since we installed it globally, the path should be something like /users/your_user_name/.composer/vendor/bin/phpcs
Also, do note that the installed_paths command overwrites any previously set installed_paths. If you have existing coding standards, please remember to include their paths together with whatever coding standards you are adding separated by a comma.
- Check to ensure WPCS is added
/path/to/composer/vendor/bin/phpcs -i
If WPCS is added correctly, we should see the following output:
The installed coding standards are PEAR, Zend, PSR2, MySource, Squiz, PSR1, PSR12, WordPress, WordPress-Extra, WordPress-Docs and WordPress-Core
Congrats! We are done with the complicated part 🎉🎊. What’s left now is to configure VS Code!
Configuring VSCode
- Install phpcs and phpcbf extensions
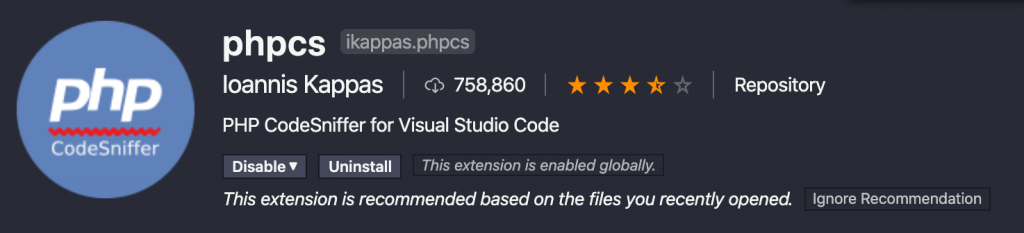 phpcs extension
 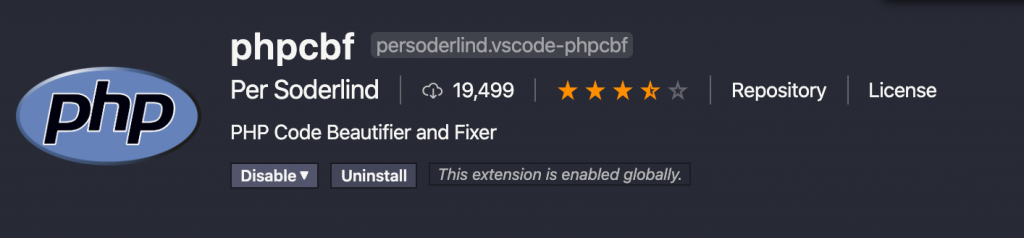 phpcbf extension
The phpcs extension enables linting for all “PHP files in our editor while phpcbf will try to beautify and fix our code according to the chosen coding standard.
- Configure settings.json
Once those two are installed, open up the editor settings under Code > Preferences > Settings. Toggle to the JSON view and add the following values:
"phpcs.enable": true,
"phpcs.executablePath": "/path/to/composer/vendor/bin/phpcs",
"phpcs.standard": "WordPress"
"phpcbf.enable": true,
"phpcbf.documentFormattingProvider": true,
"phpcbf.onsave": true,
"phpcbf.executablePath": "/path/to/composer/vendor/bin/phpcbf",
"phpcbf.standard": "WordPress",
Save the settings.json and restart VSCode.
- Test!
If everything is configured correctly, VSCode should start linting your PHP code. As seen in the above demo, our initial code violated the following rules:
- No spacing inside parenthesis
- Missing doc comment for function
- Not using Yoda conditions
- Not escaping output
Since we configured phpcbf.onsave: true, VSCode should auto fix some issues when we save the file (in our e.g., it fixed #1). If, for some strange reason, the auto save fails to work, try right click > Format Document.
As for the other issues, we can mouse over the underlined code to get more information and then fix them manually.
And that’s it. From now on, you should feel more confident about the quality of your code! 💪