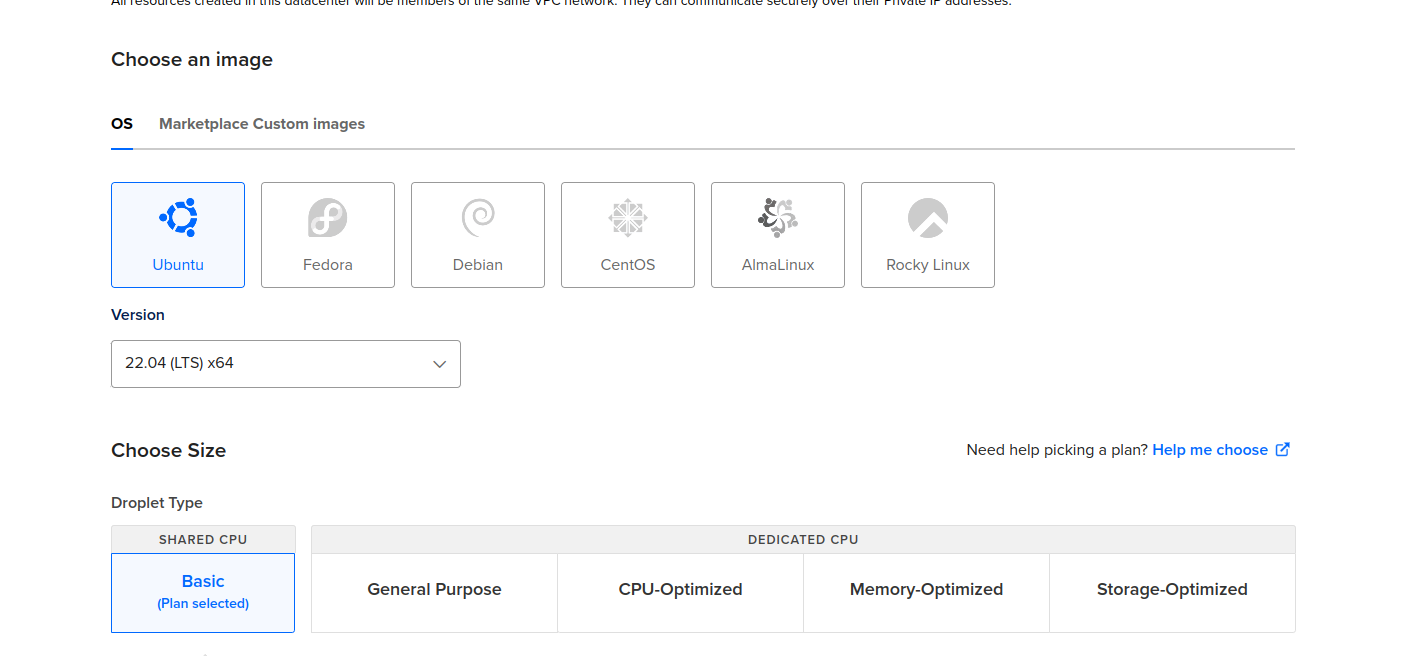
Create your droplet in digital ocean
Create your droplet, for my example I used Ubuntu 22.04 LTS
then go to your droplet via ssh from your terminal:
ssh root@[your droplet IP]
once inside, update server packages
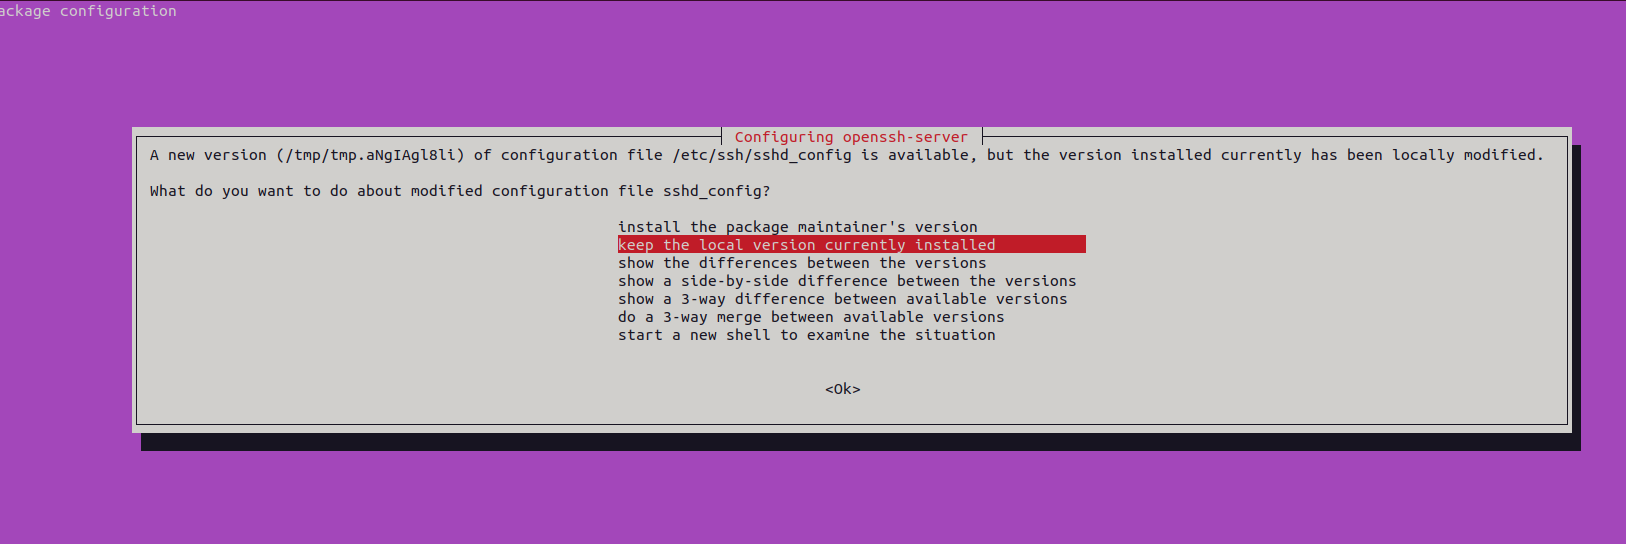
sudo apt update && sudo apt upgrade -y
probably a message related with ssh will appear, just choose keep the local version currently installed
Install Cyberpanel
switch to root user in case you are not:
sudo su –
create a custom folder to install your files:
mkdir /data && cd /data
sudo su -
install cyberpanel
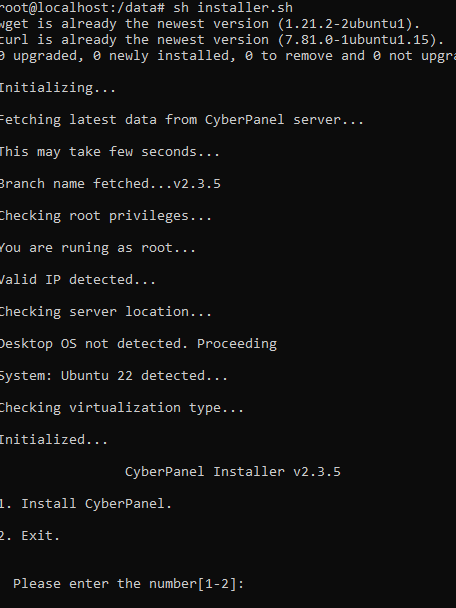
wget -O installer.sh https://cyberpanel.net/install.sh
chmod +x installer.sh
sh installer.sh
choose option 1 to install cyberpanel
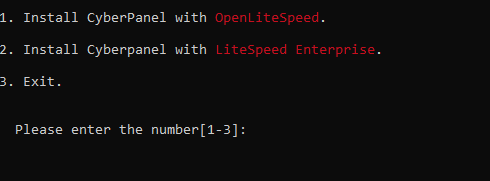
then choose option 1:
then install Full installation option:

then choose Remote SQL option to No:

then press enter to install latest version of Cyberpanel:


then Yes for Memcached option:


then Yes for Redis process:

then Yes to WatchDog:


then CyberPanel is installed and credentials given in the console:
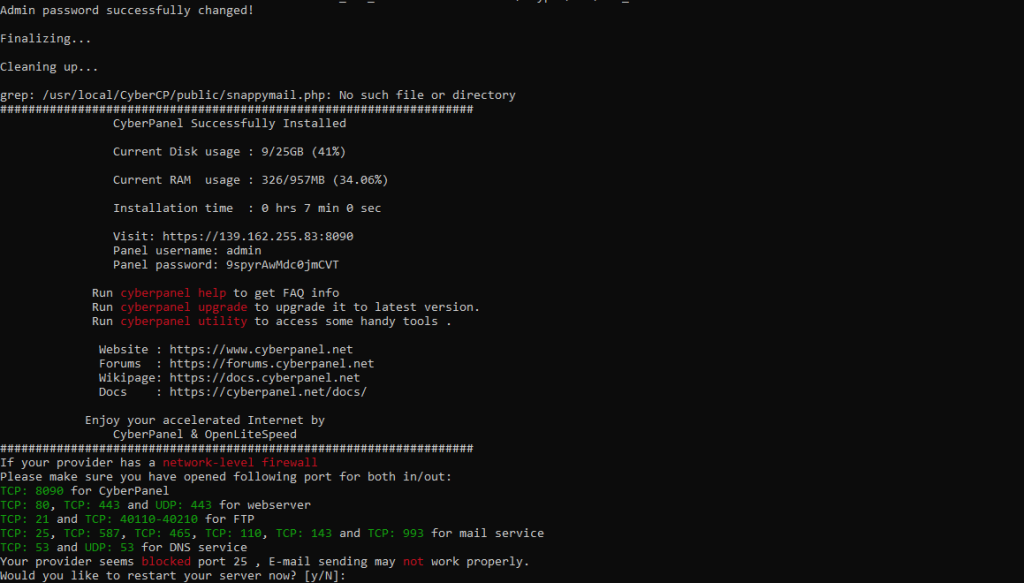
e.g.
CyberPanel Successfully Installed
Current Disk usage : 9/25GB (41%)
Current RAM usage : 326/957MB (34.06%)
Installation time : 0 hrs 7 min 0 sec
Visit: https://139.162.255.83:8090
Panel username: admin
Panel password: 9spyrAwMdc0jmCVT
Run cyberpanel help to get FAQ info
Run cyberpanel upgrade to upgrade it to latest version.
Run cyberpanel utility to access some handy tools .
Website : https://www.cyberpanel.net
Forums : https://forums.cyberpanel.net
Wikipage: https://docs.cyberpanel.net
Docs : https://cyberpanel.net/docs/
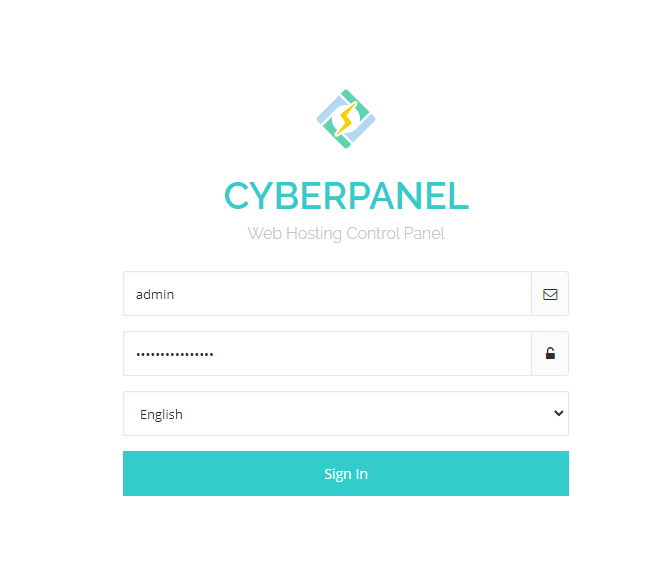
then log in into https://[your-ip]:8090/
With your new credentials:

One click installation
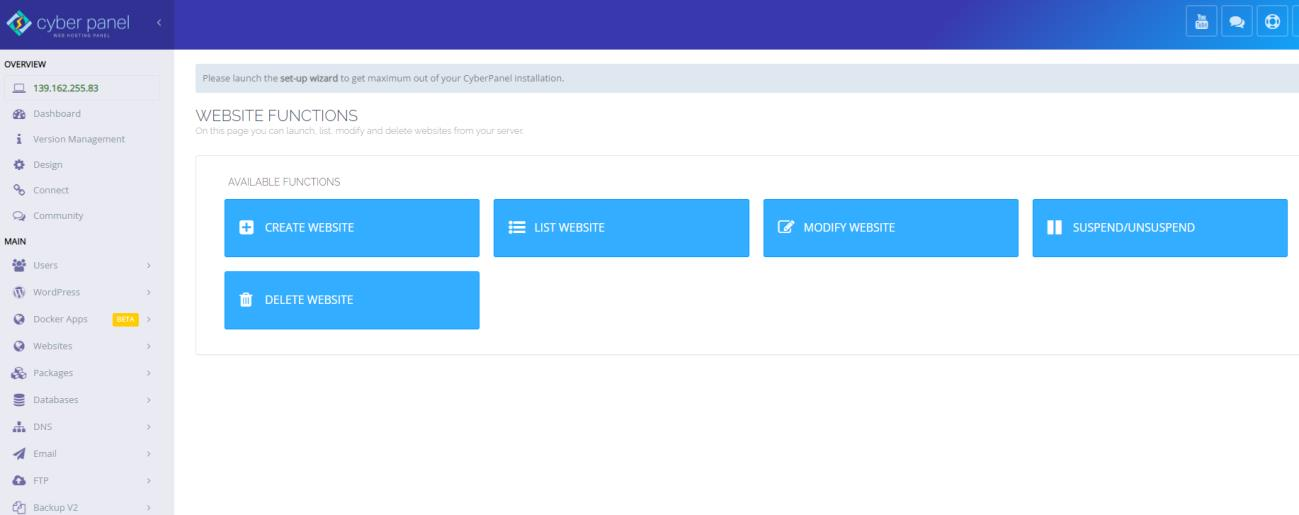
Go to Website option:


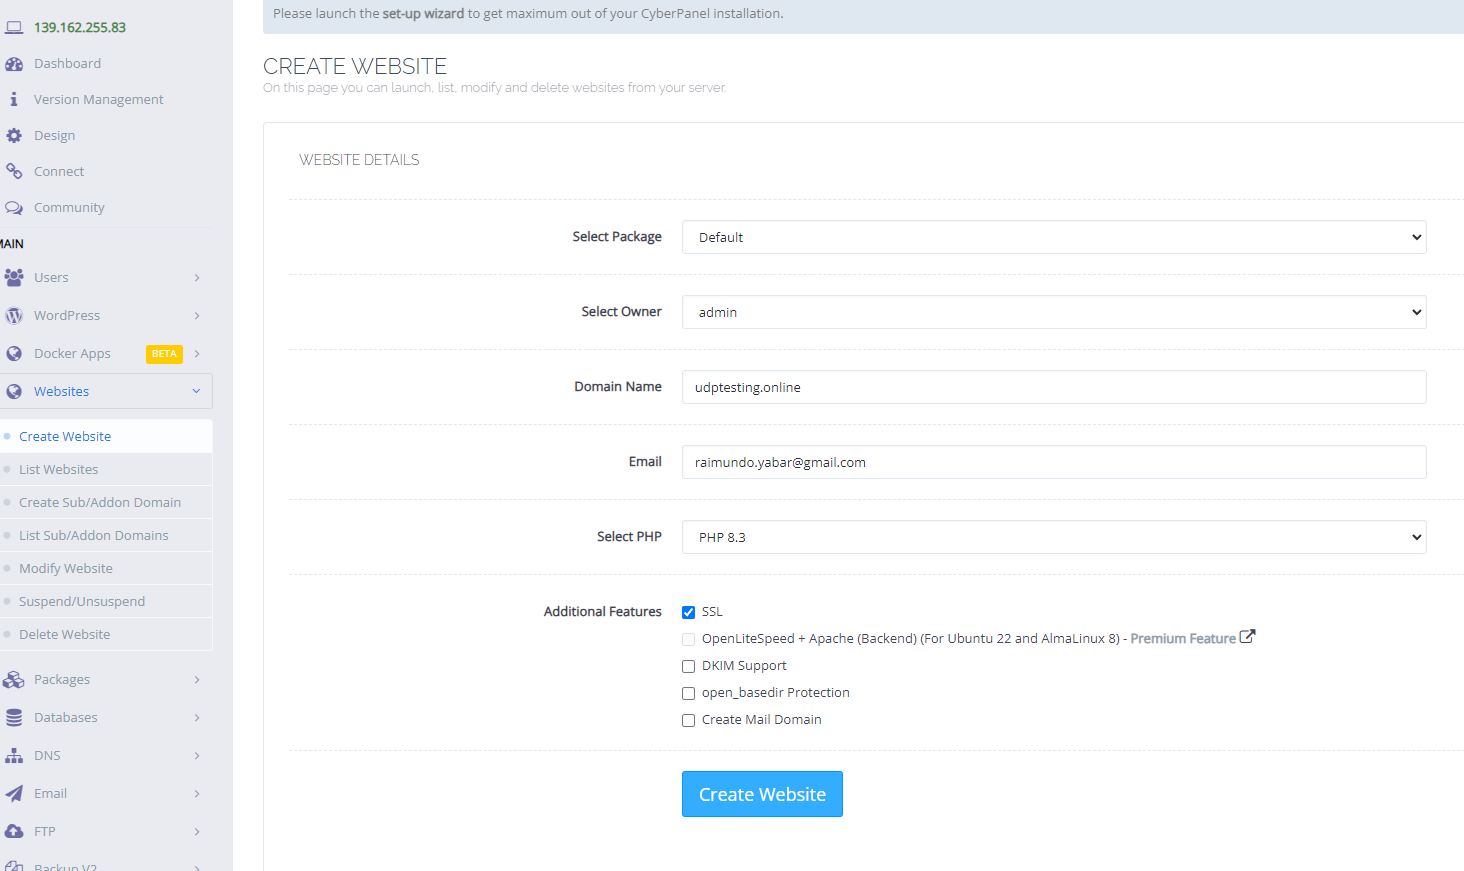
select Create website:

Fill the form with next data:
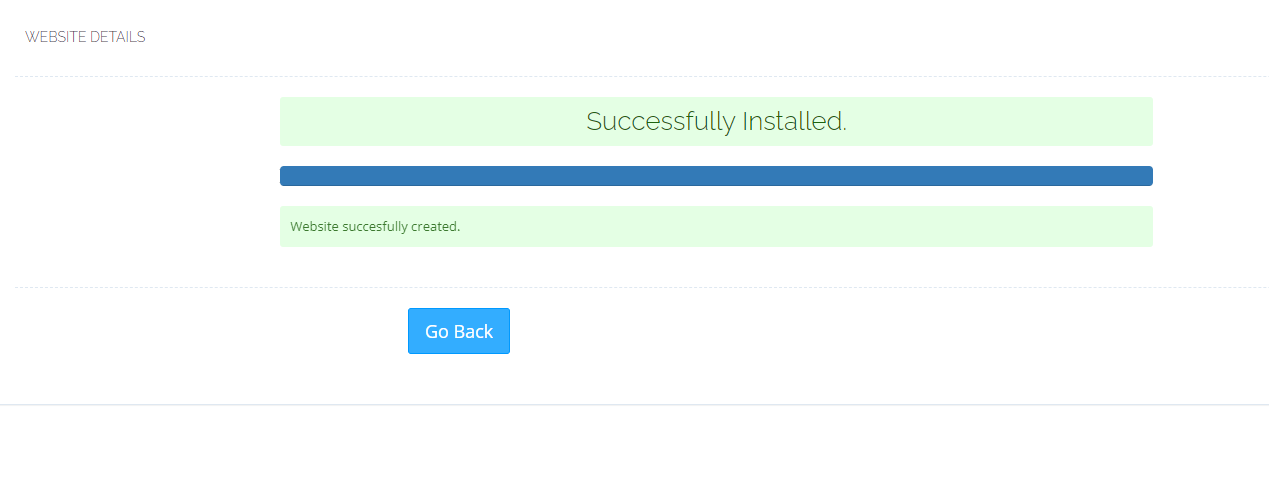
Then wizard installation will start running:

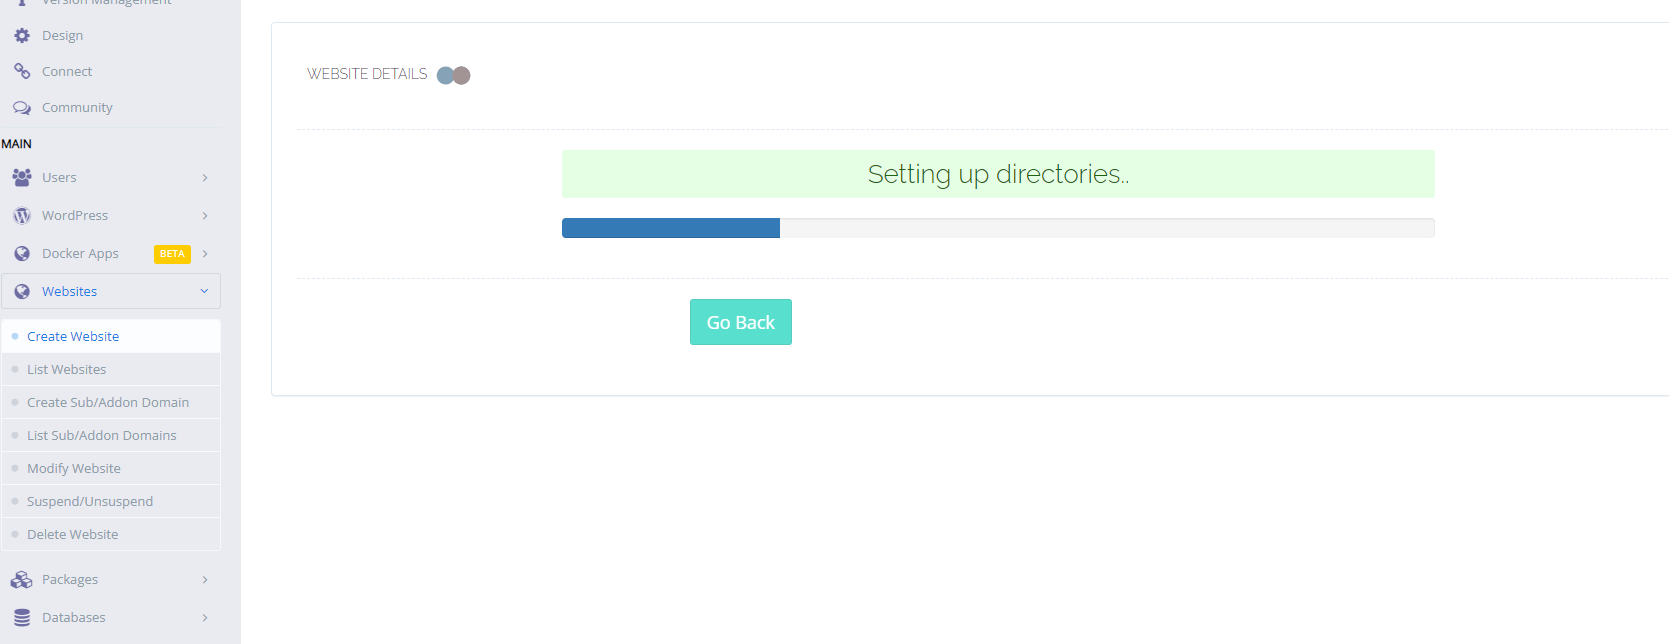
Then once it is finished, press Go Back

then go to List Websites:

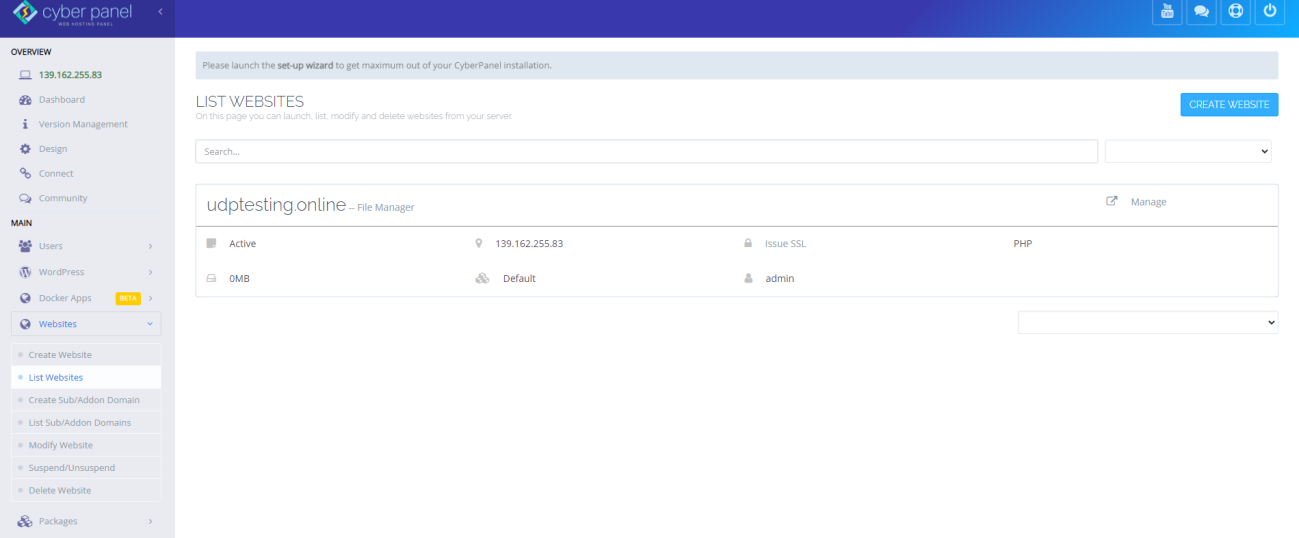
Choose your newly added domain and choose Manage option and it will redirect you to site options

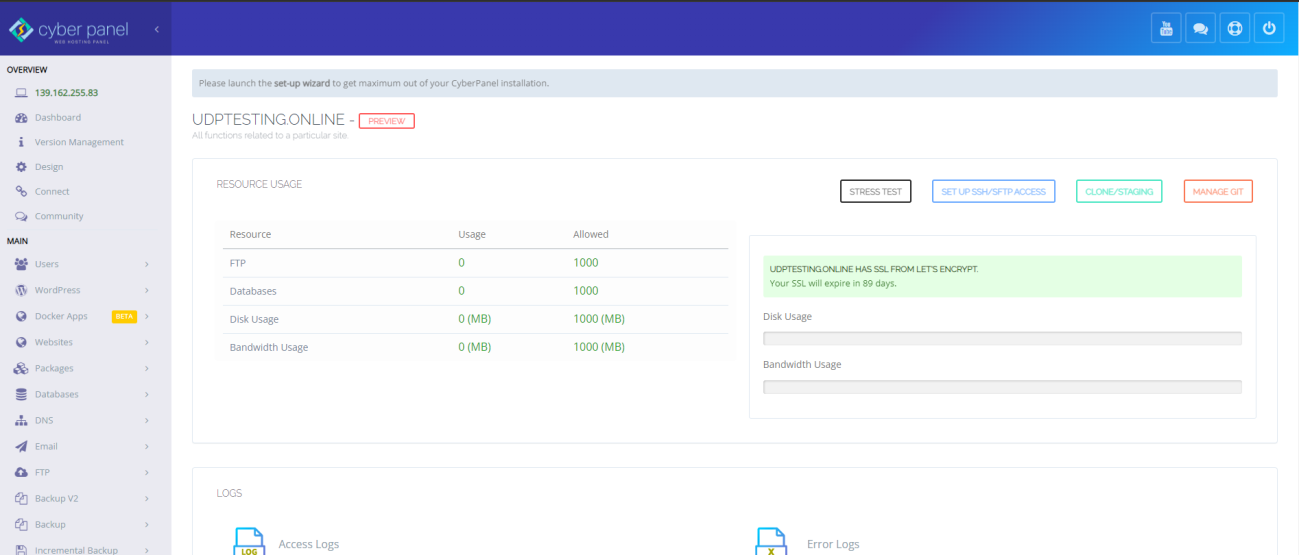
Manual installation
At the bottom, choose file manager: 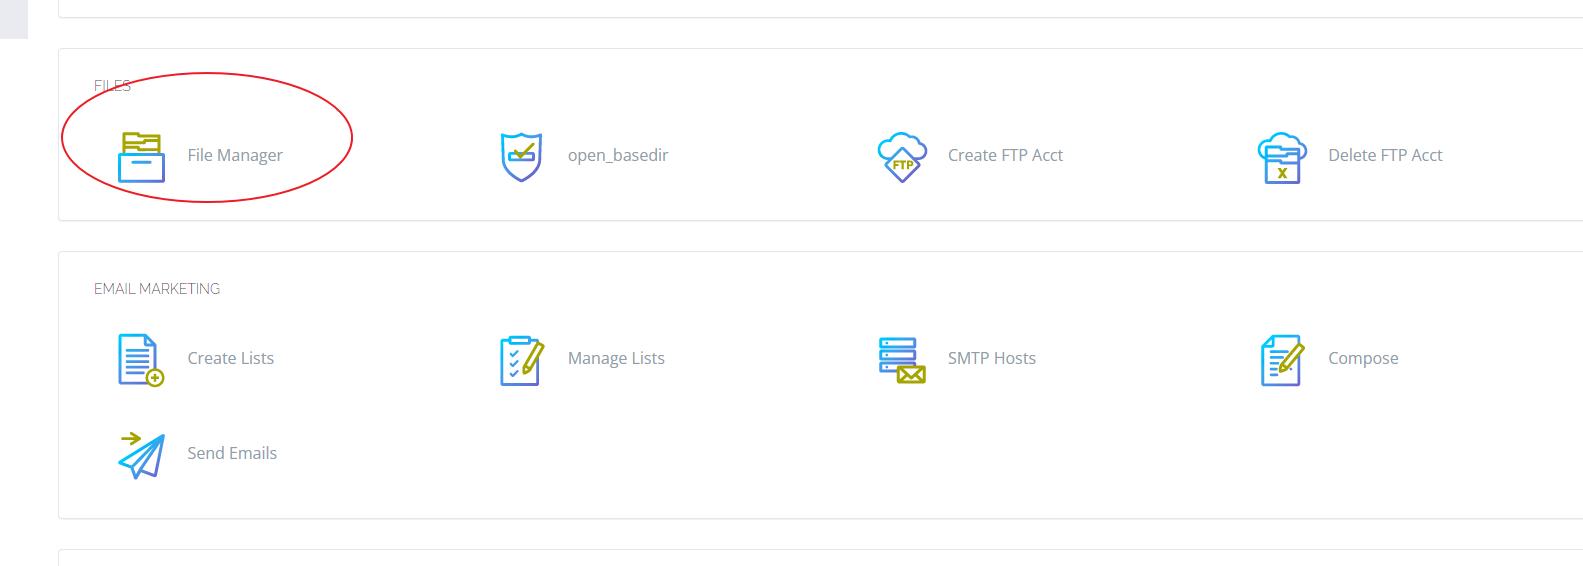 Once in the file manager, go inside public_html
  You will see an index file
 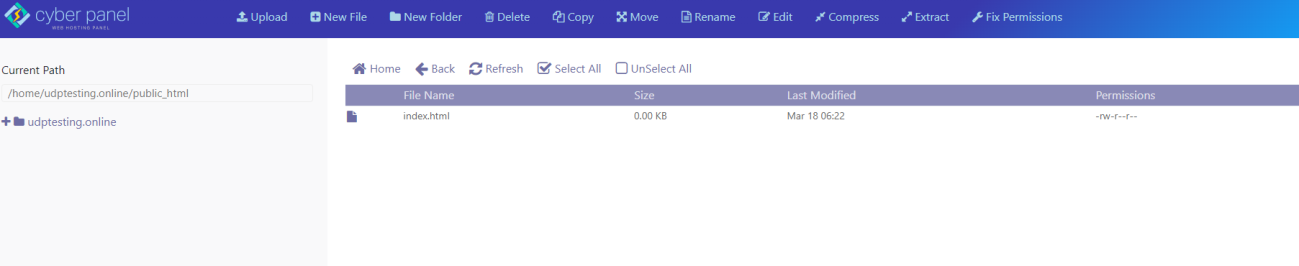 Then go to wordpress site to download the installer: https://wordpress.org/
 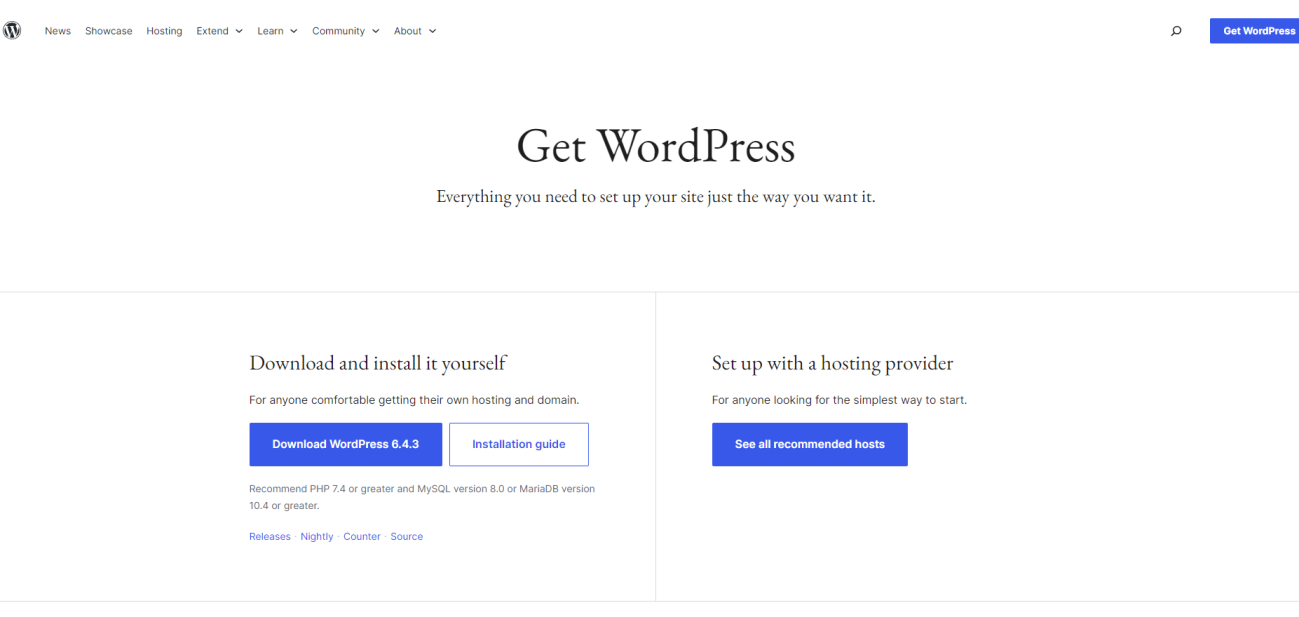 Then uncompress the zip file and you will see a wordpress folder:
  Inside wordpress folder, you will find the files that needs to be uploaded in the host:
 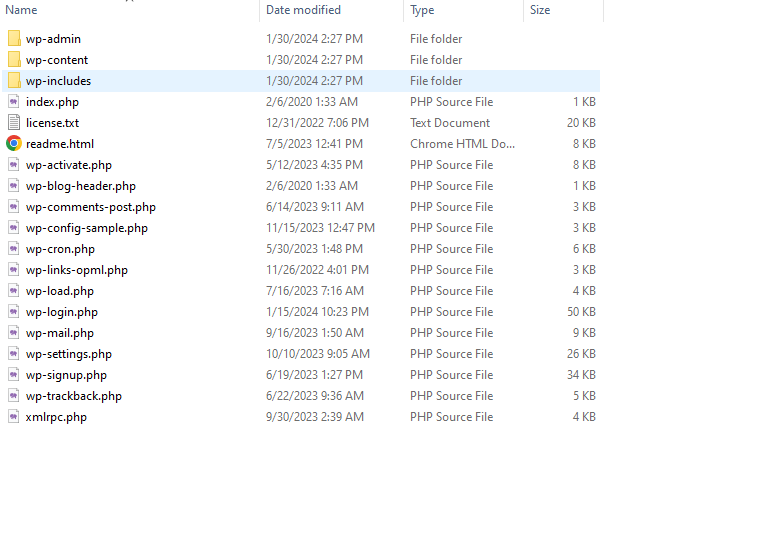 Compress those files in zip file to upload it via file manager in the web host:
 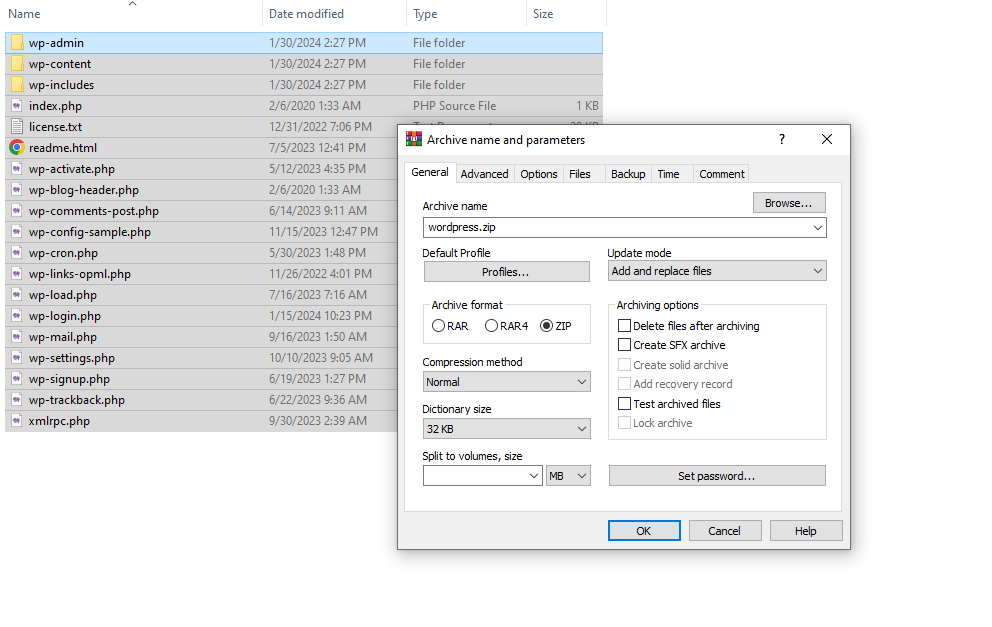 In the file manager, press Upload option:
 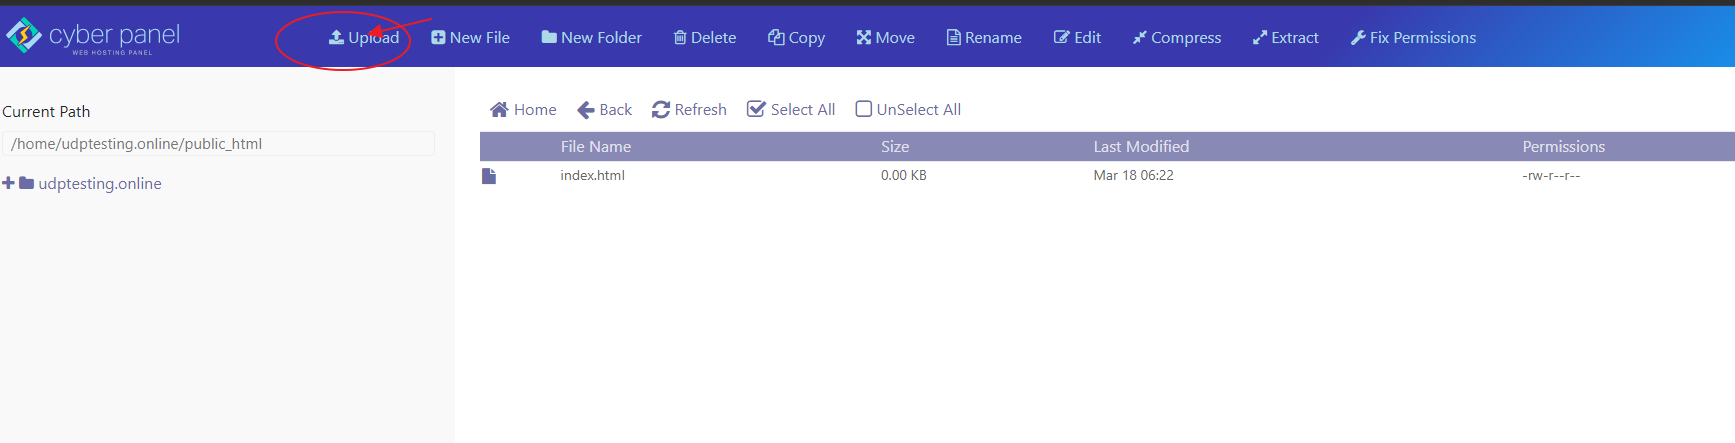 then upload the compress file:
 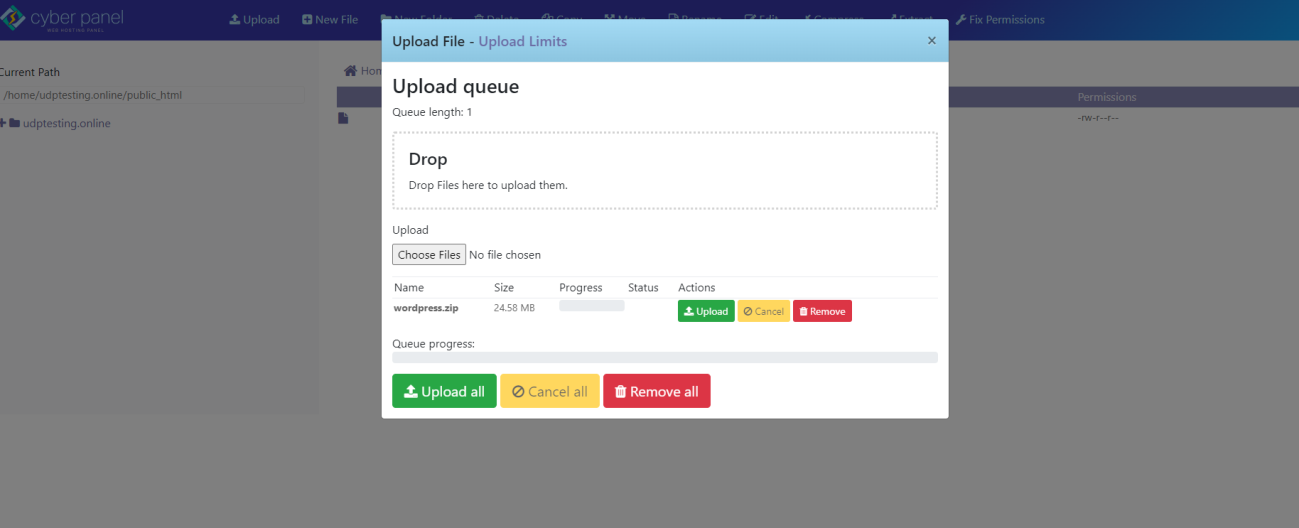 Then press Upload option
 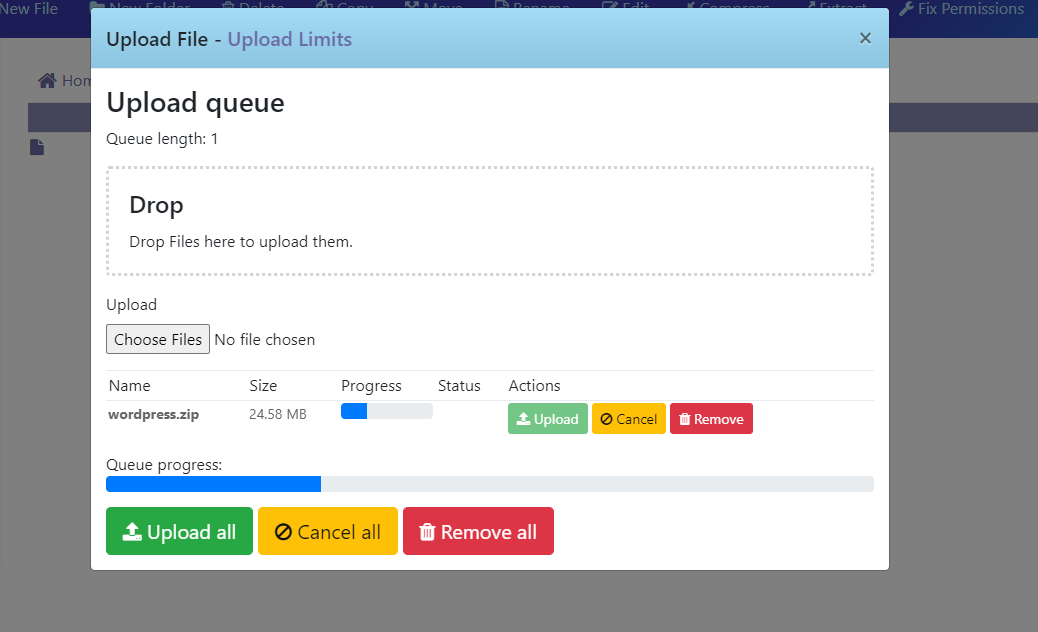 Once progress bar is full, it means zip file was uploaded:
 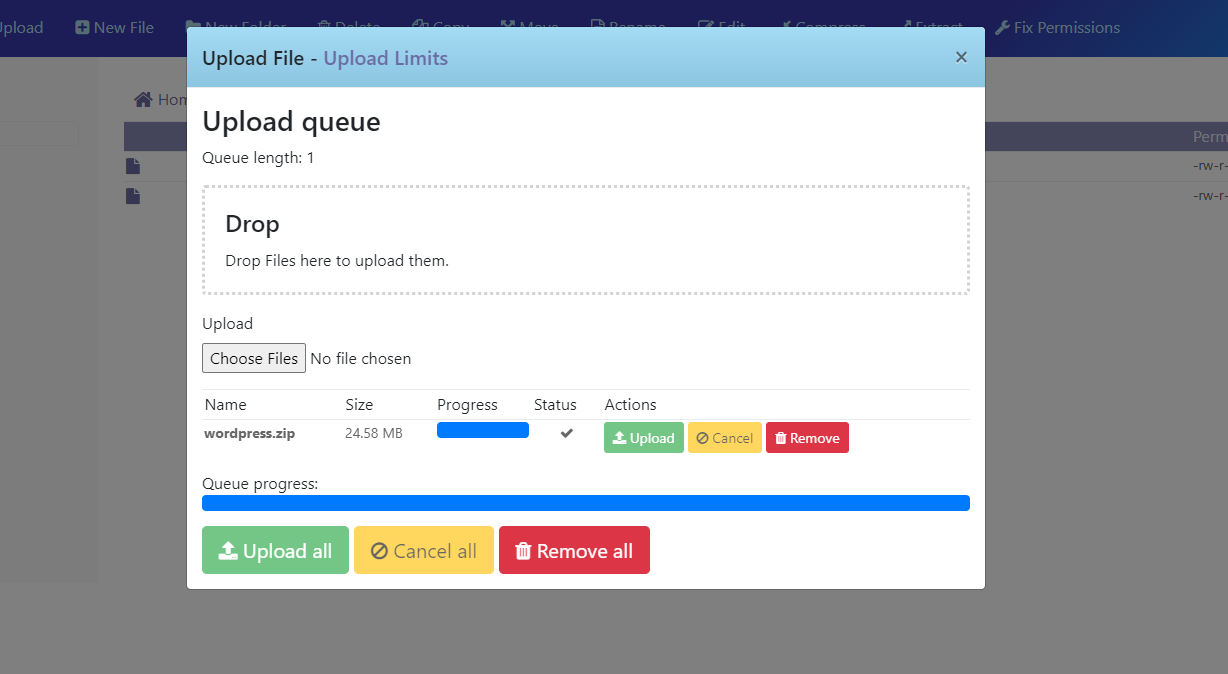 Then close modal:
 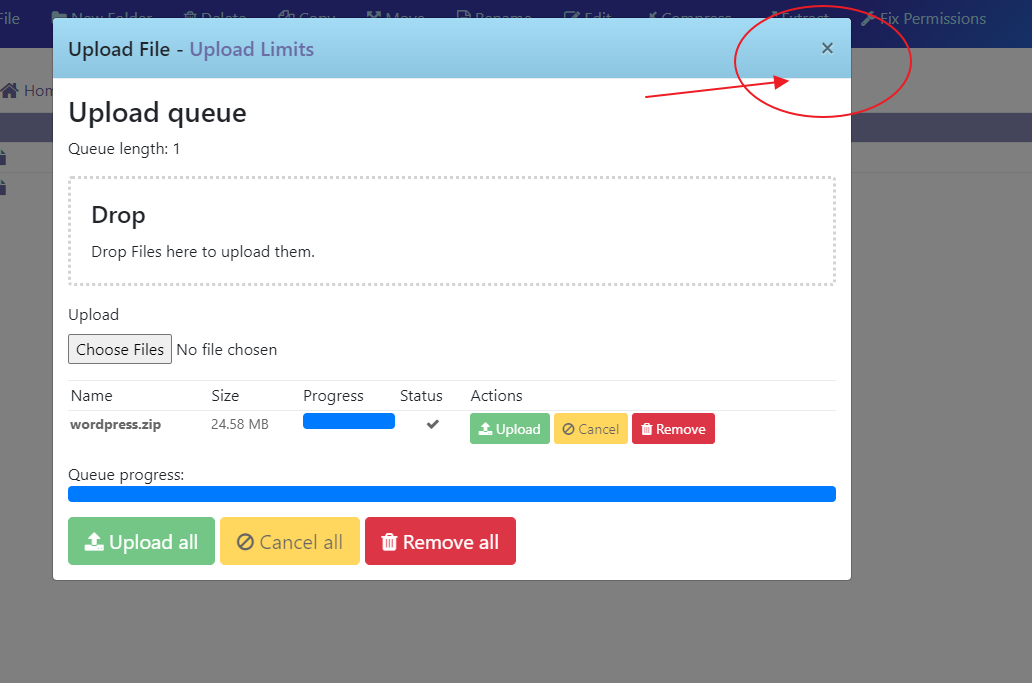 You will see the zip file inside there:
  Then right click on the zip file and Extract option will appear, just press that option:
 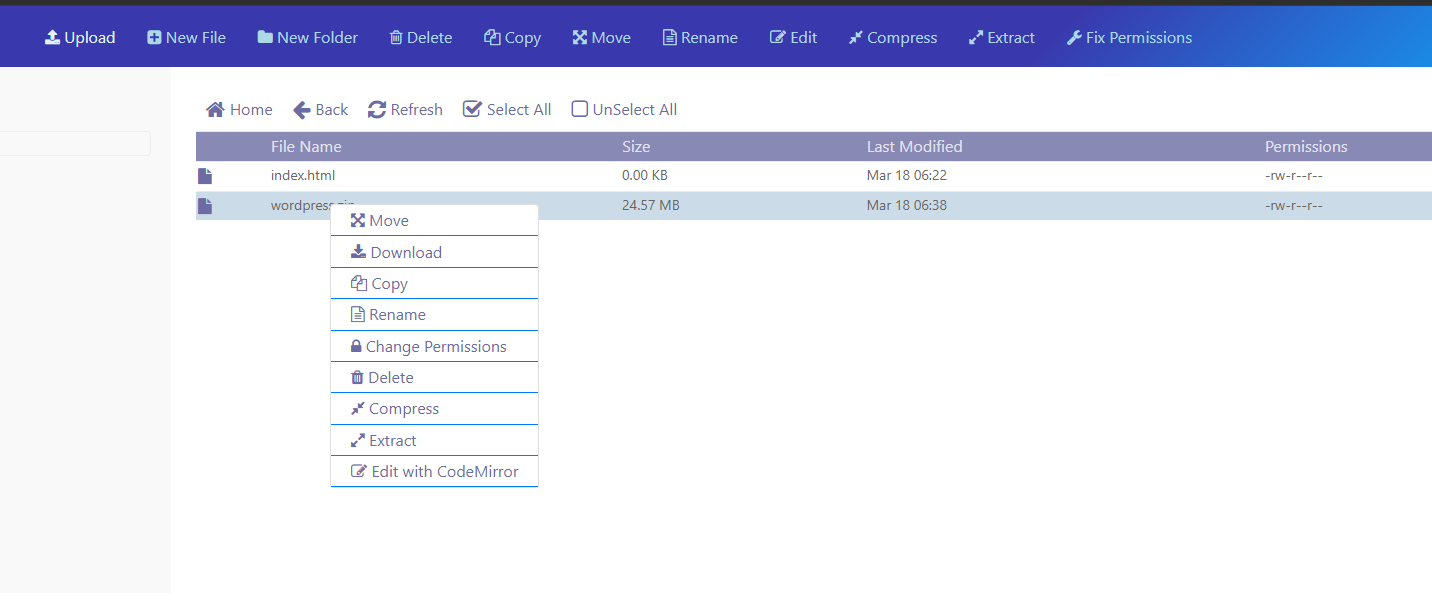 It will confirm the path, just press Extract button:
  Then all files will be extracted to root folder:
 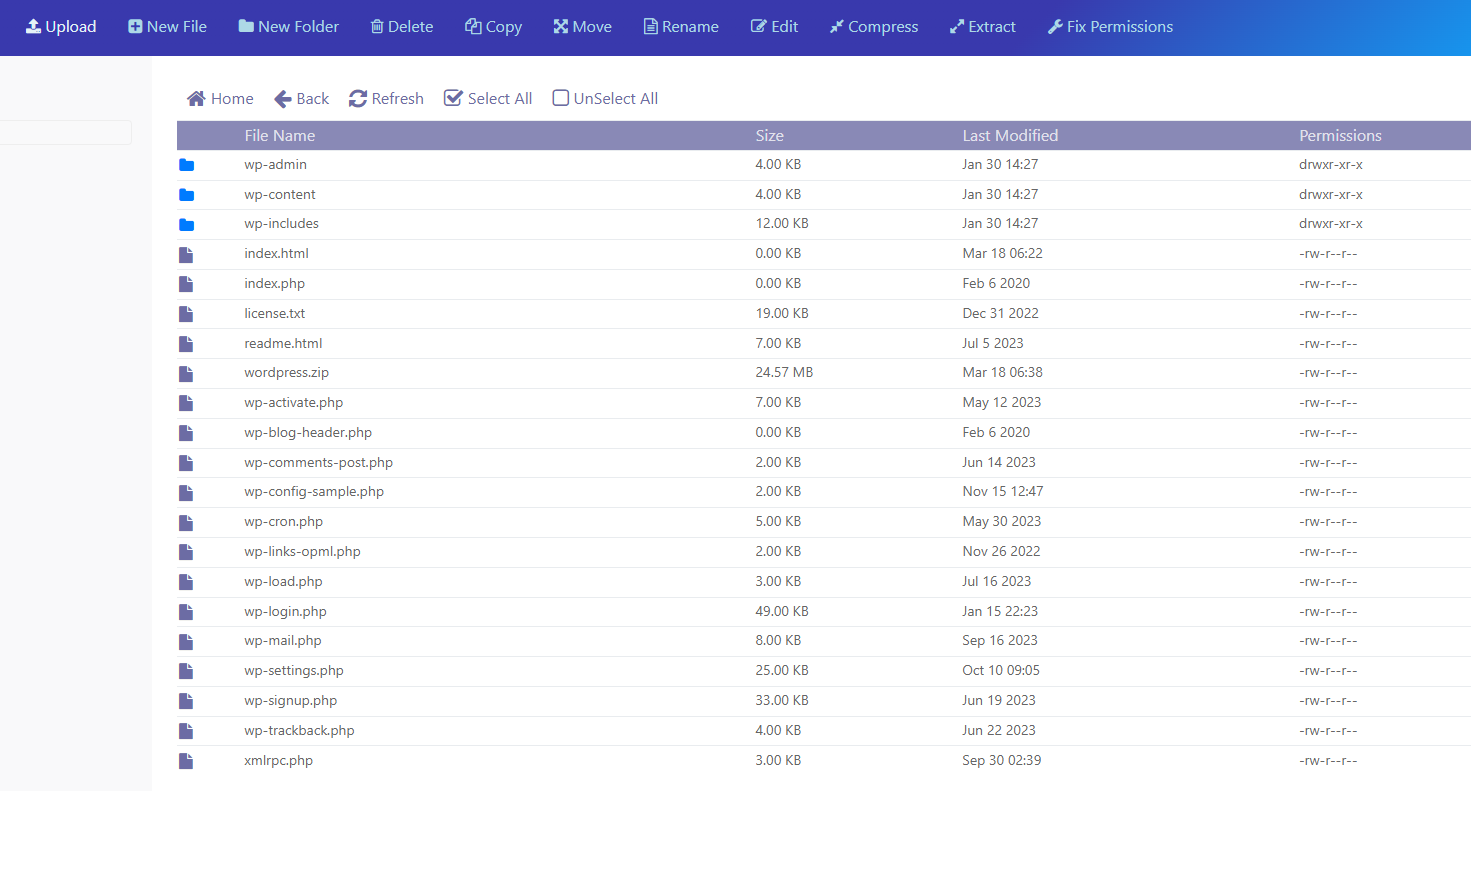 Remove index.html file from the root folder:
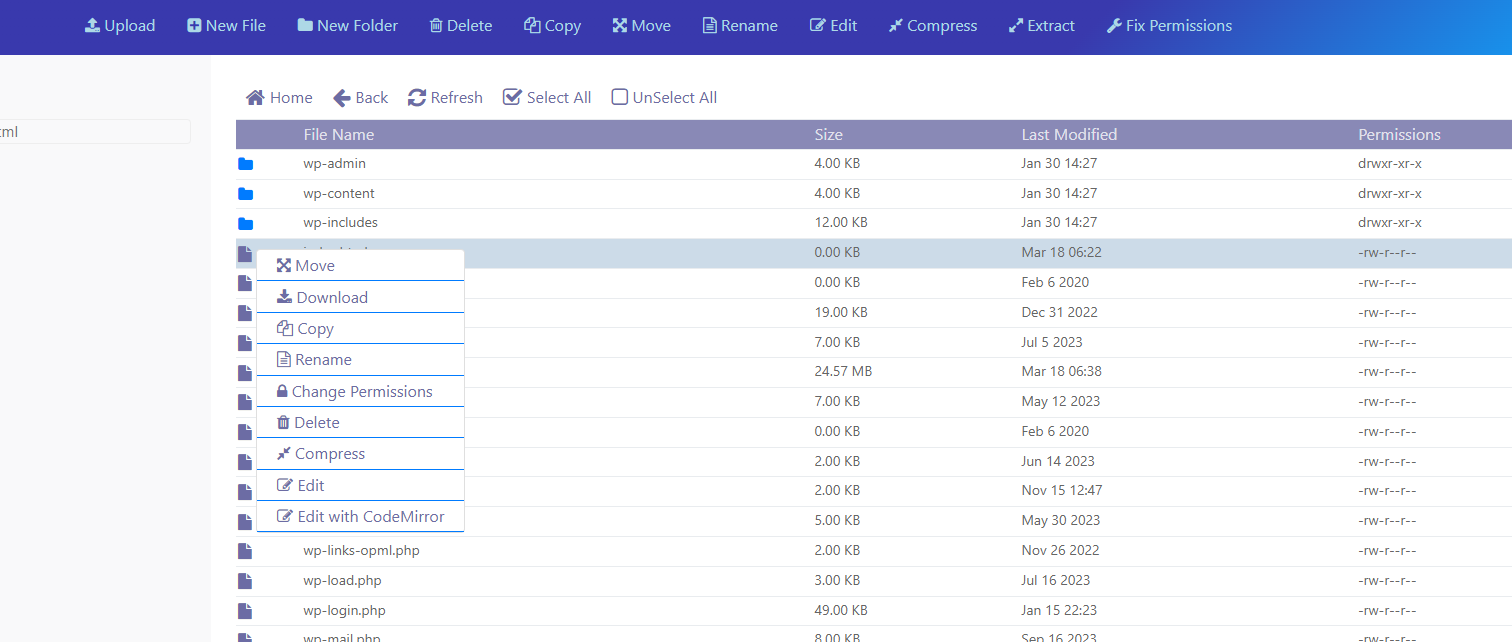
 Then you will have like next:
 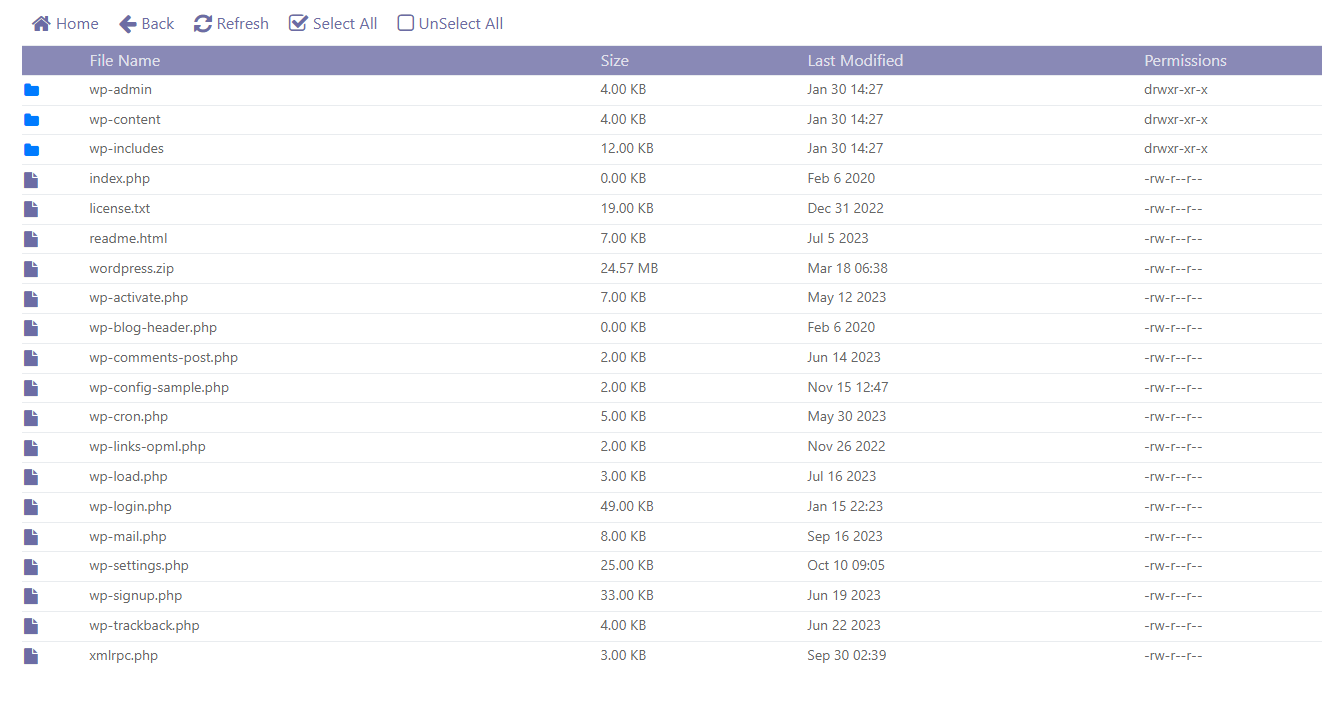 Then apply 755 file permission recursively to all files:
 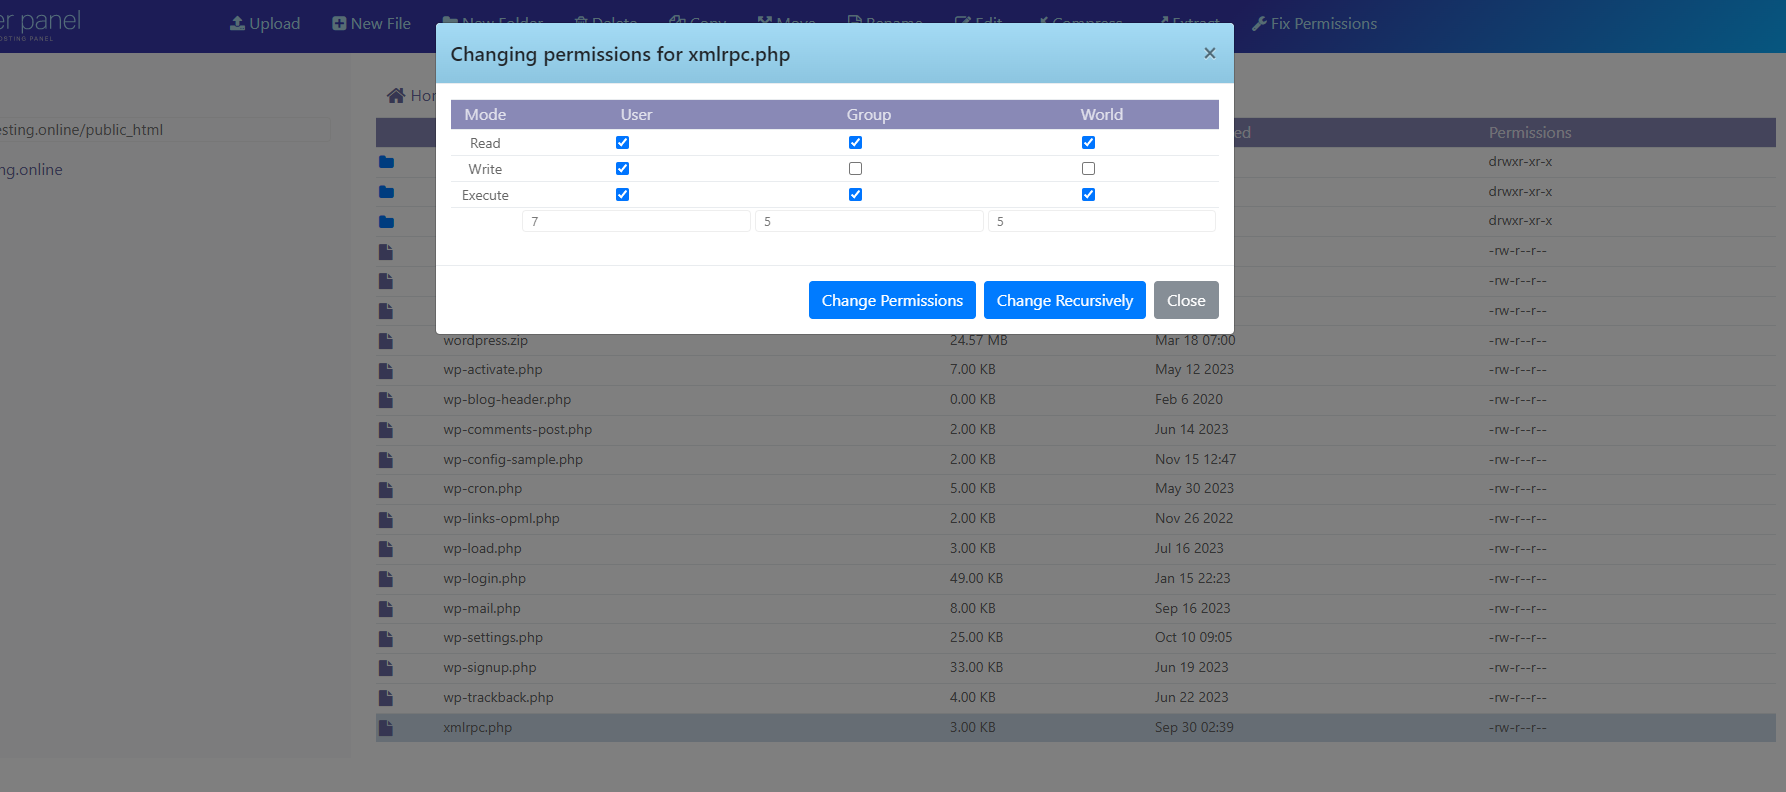 Then go to Cyberpanel dashboard: Websites -> List Websites -> manage and go to Change PHP option and select php version 8.3
 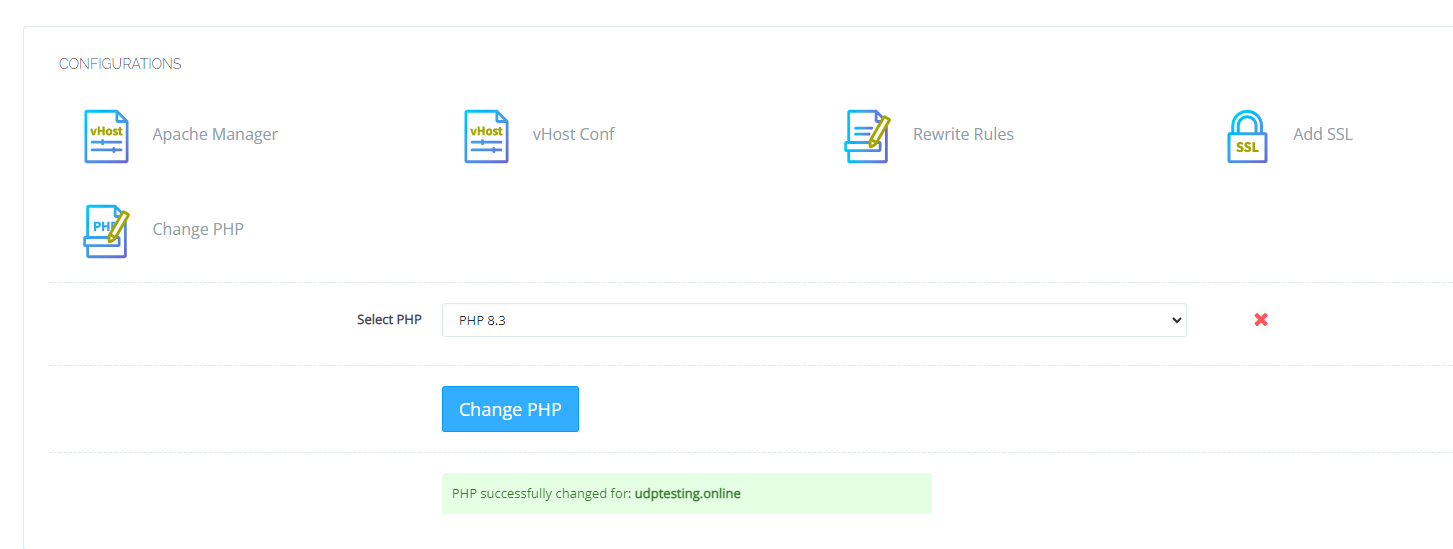 Once files are in the root folder, then go to CyberPanel dashboard and go to Databases:
 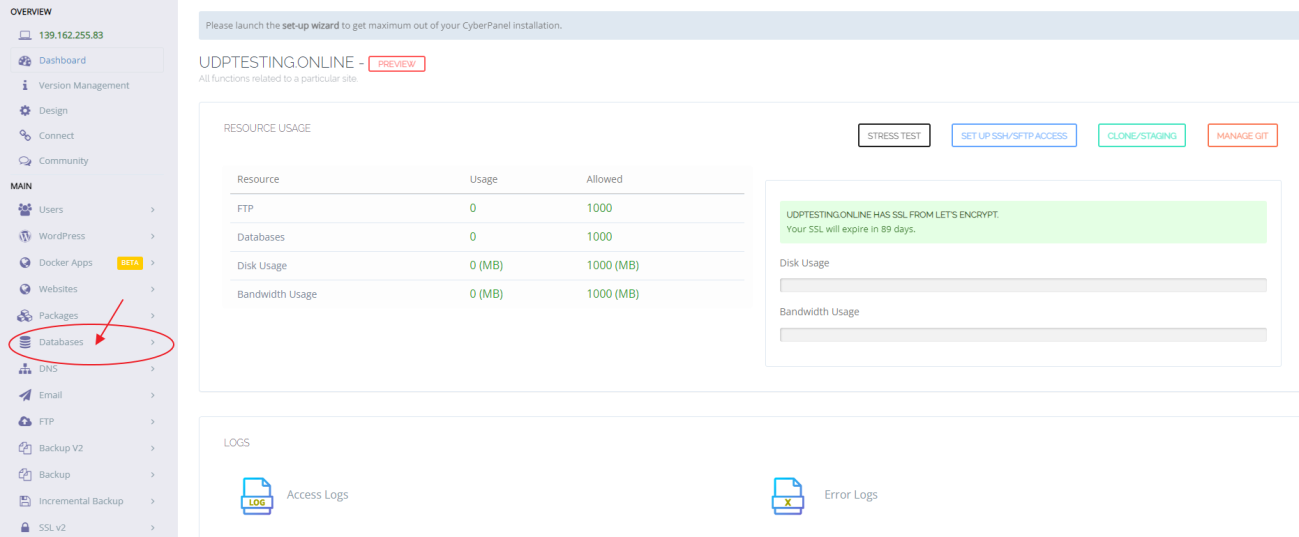 Then go to CyberPanel dashboard, on sidebar, choose Create database:
 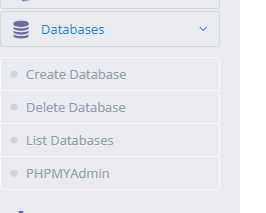 Once on the Create Database section, select website: yourdomain.com
 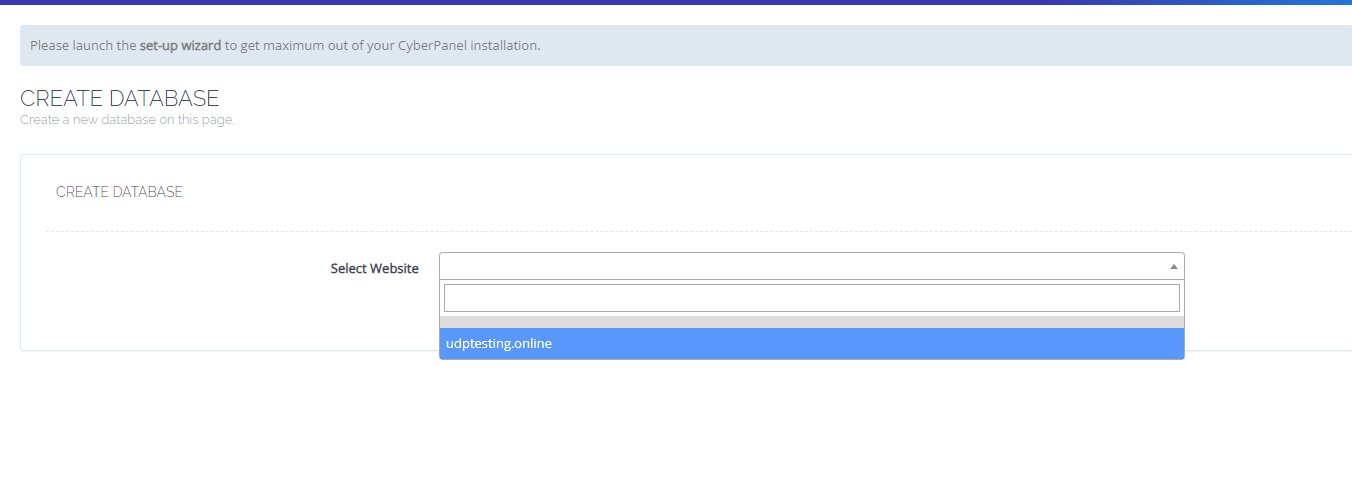 Then fill database credentials:
 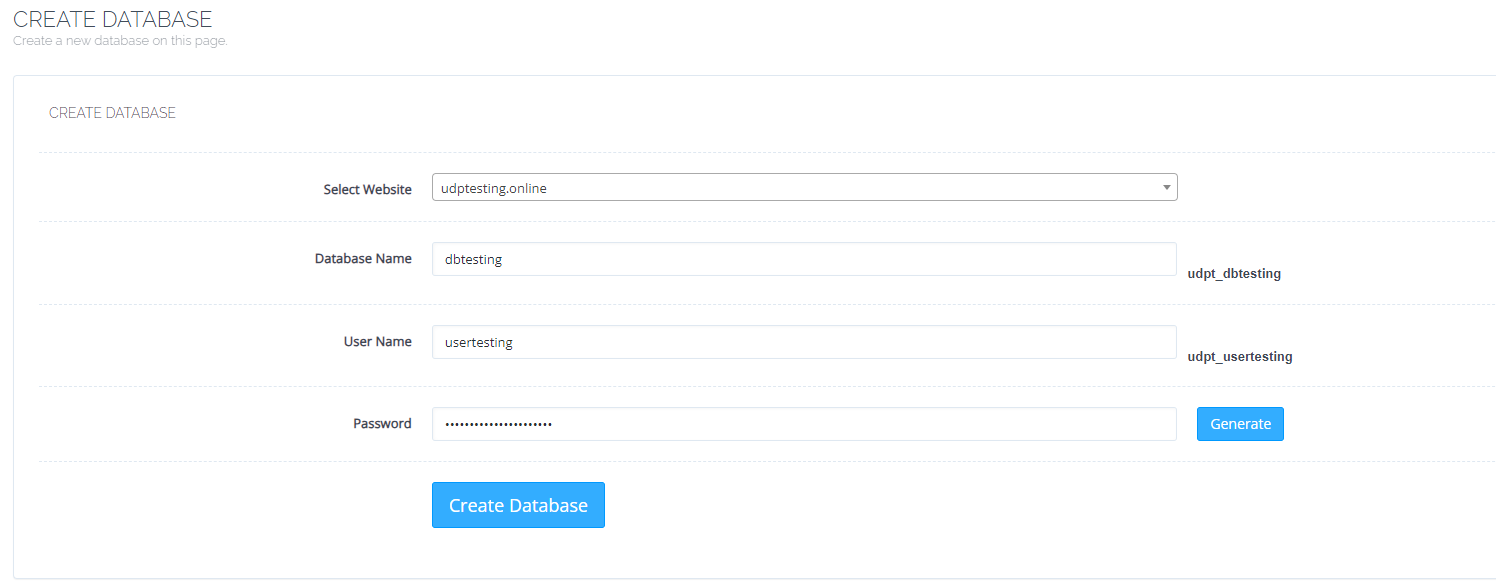 Then go to List databases and you will see your database created
  Once files are in the root folder and database is created, we can proceed with installing wordpress, just go to website domain: https://yourdomain.com/wp-admin/setup-config.php and wizard installer will appear:
  Choose language:
 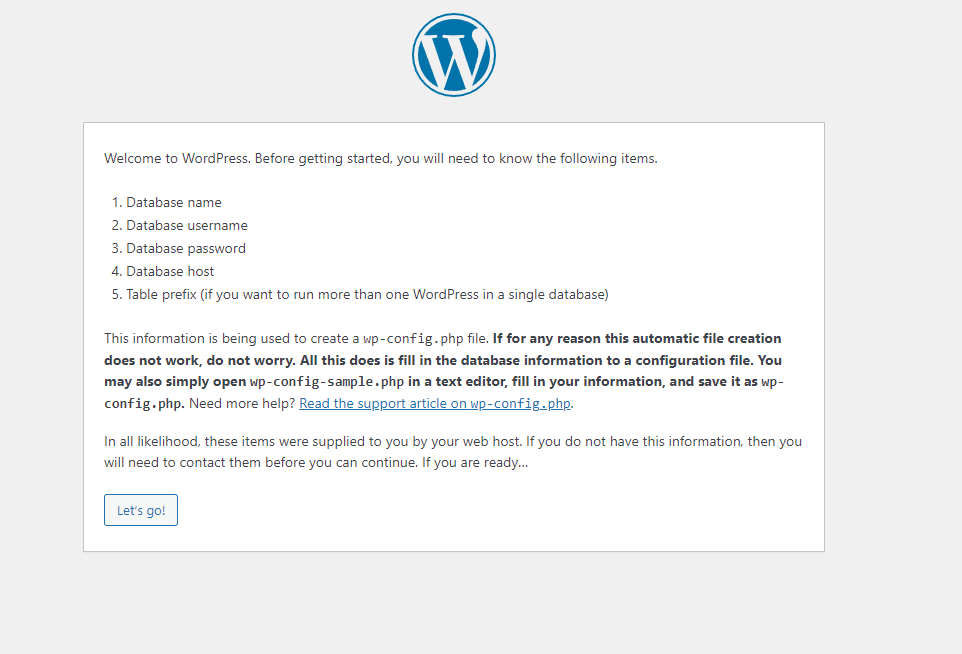 Add your database credentials:
 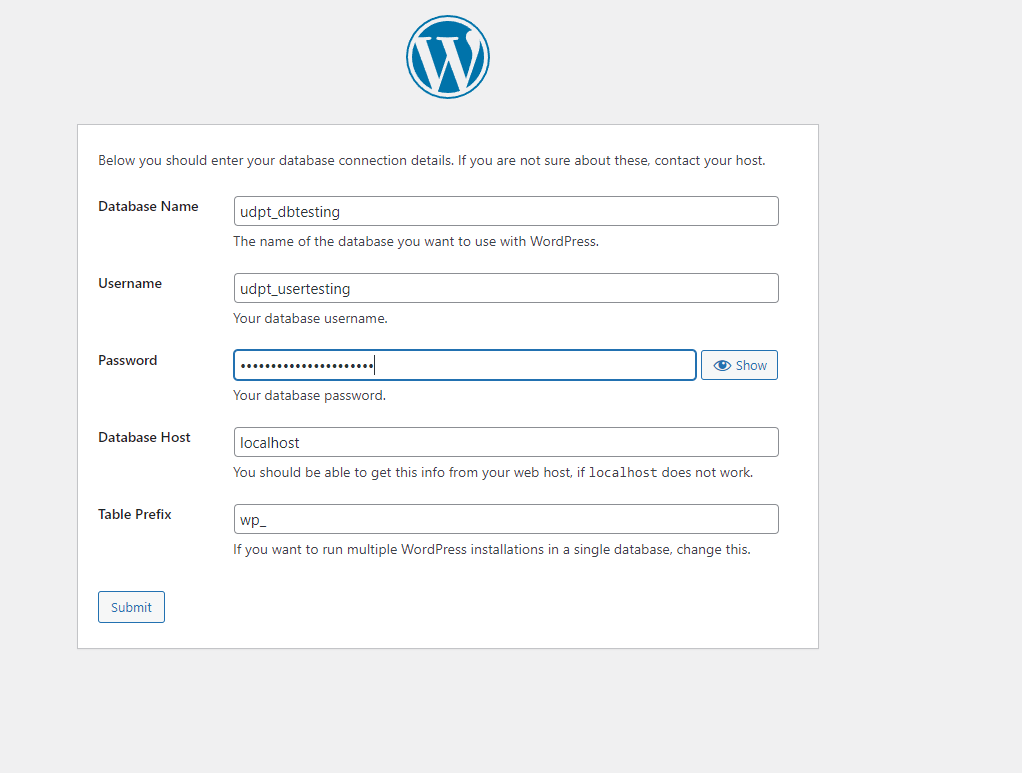 database: udpt_dbtesting user: udpt_usertesting pass: RGsStwFvAED3q8uNWzHJTh host:localhost then you will see success message:
  And press Run the installation:
  Then add website settings:
 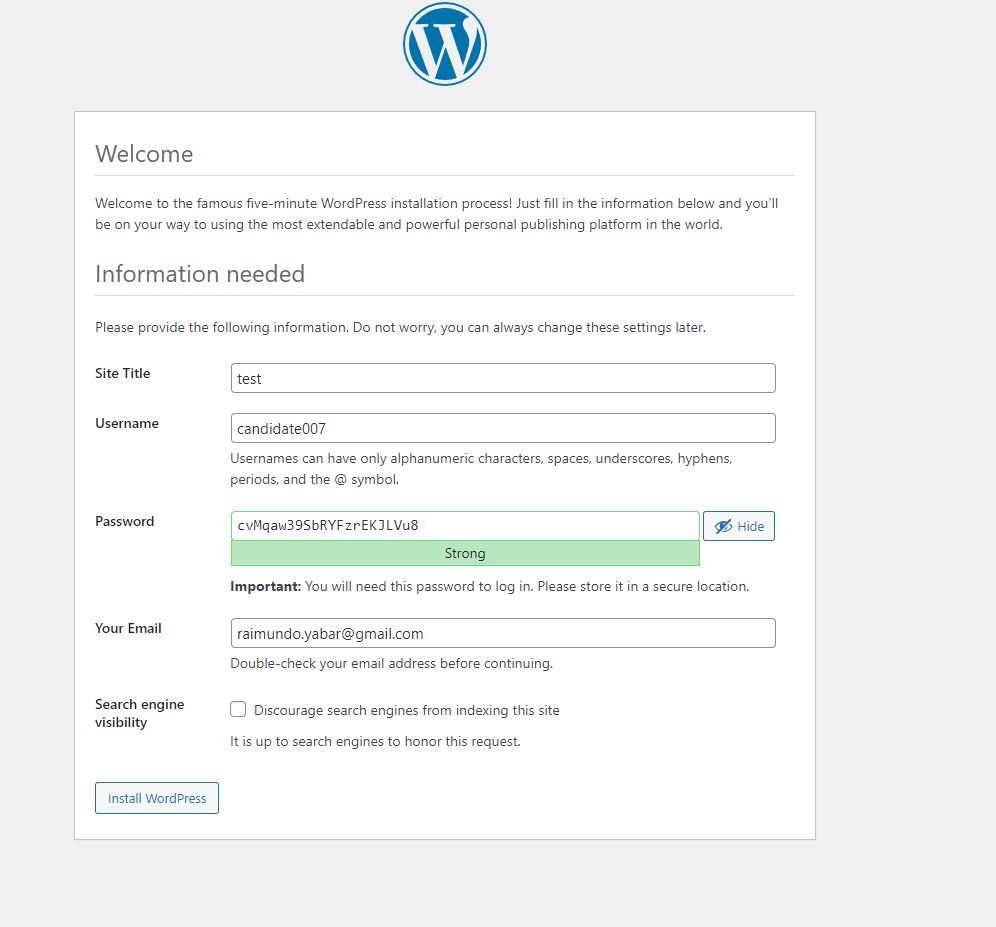 Then you will see success message:
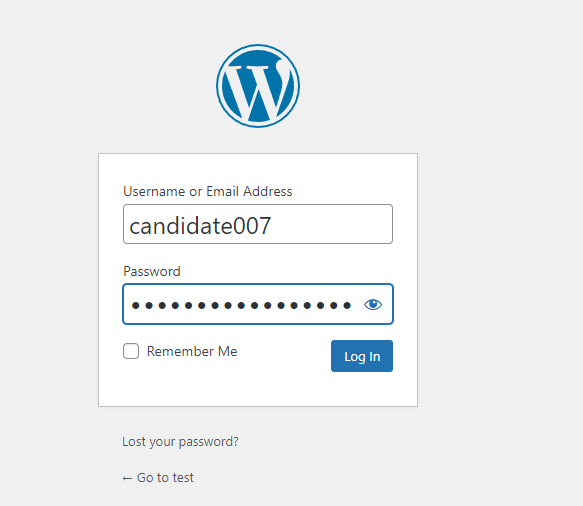
 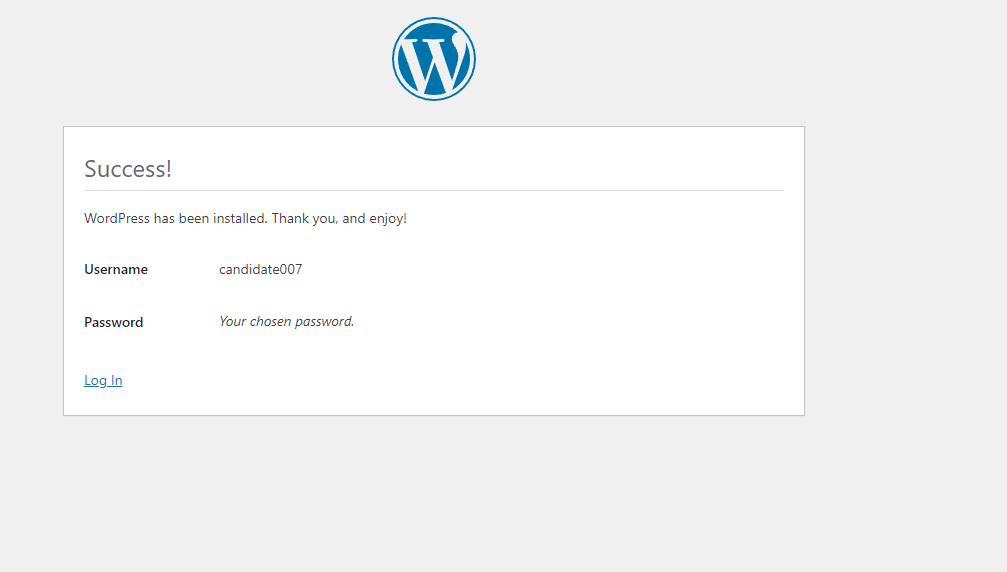 Go to login and add credentials:
Then you will go to admin section and can add your plugins and themes 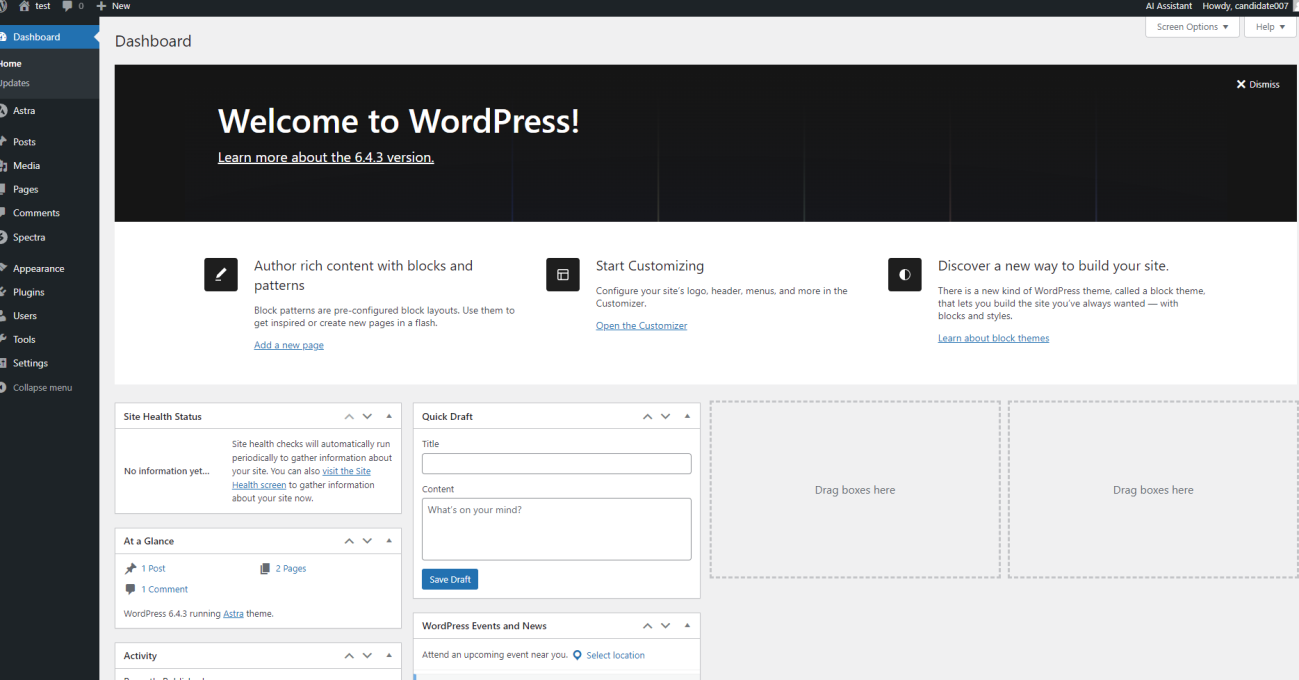 And have a site like next:
Redirect all traffic to another domain
Log in to CyberPanel, select Websites from the sidebar, and click on the domain you need to manage. Manage the domain and navigate to Rewrite Rules under the configuration section. Enter the following rewrite rules:
RewriteEngine On
RewriteRule ^(.*)$ https://yournewdomain.com/ [R=301,L]
save changes, and that’s it
Add custom domain to cyberpanel dashboard
Note: If your domain is behind Cloudflare it will not work since CloudFlare blocks port 8090.
If you want to access CyberPanel on SSL you can do so by issuing Lets Encrypt SSL for the hostname, before continuing further make sure you have created website with a domain you want to access CyberPanel as.
If you want to access CyberPanel on: https://panel.yourdomain.com:8090 , create an account with a domain panel.yourdomain.com. While creating an account you can check SSL or not, it is optional.
If domain still does not point to the server, again a self-signed SSL will be issued.
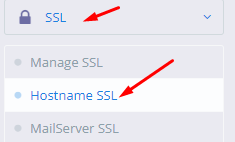
To issue the Hostname SSL for your CyberPanel. Go to SSL->Hostname SSL

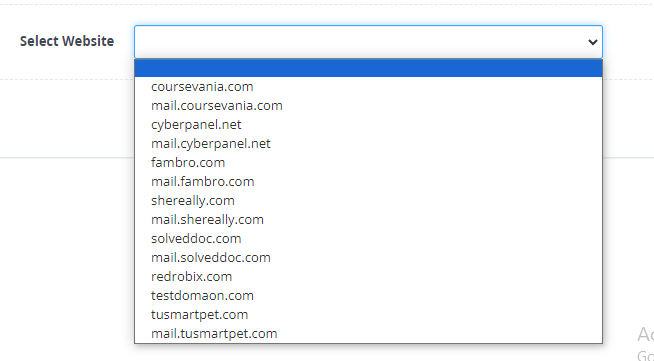
Select the website for which you want to issue the hostname SSL

Block login via IP
You go to this file:
/usr/local/CyberCP/CyberCP/settings.py
Replace * with your url:
ALLOWED_HOSTS = ['*']
Like this:
ALLOWED_HOSTS = ['my.domain.tld']
Restart cyberpanel:
systemctl restart lscpd