DigitalOcean is a simplified and effective cloud computing platform designed primarily for developers who want to host their websites and other internet-related programs or applications.
Outlined below are the important instructions you must follow to set up a host name with DigitalOcean.
Requirements
You need two things to get started with setting up a host name with DigitalOcean:
- A Droplet, which is a virtual private server supplied by DigitalOcean
- A registered domain name
- Step one: Access your domain name WHOIS information
- Step two: Change your domain name server and point it to the DigitalOcean name servers You can do this by logging into your registrar website and pointing your Domain Name servers to DigitalOcean name servers.
- The DigitalOcean servers are:
- ns1.digitalocean.comns2.digitalocean.comns3.digitalocean.com
Make sure you verify that your new name servers have been dully registered by WHOIS.
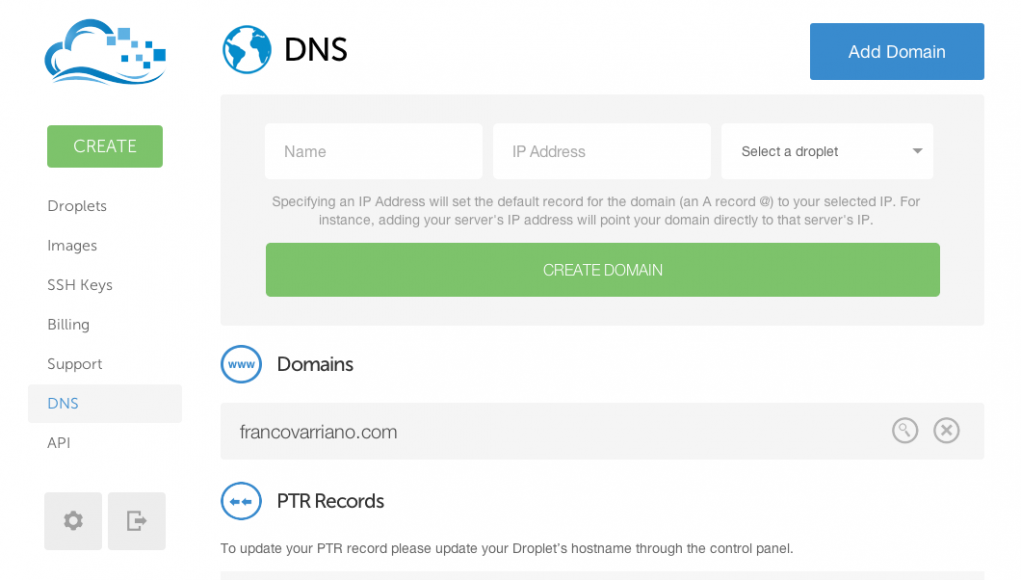
- Step Three: For this step, you need to configure your domain. Log into the DigitalOcean’s control panel and locate the networking section. Add your domain name in the Add domain section. It shouldn’t have www, and this will take you to the page where you can enter all your website details. In order to make a new host name, you should only fill in the A record. But if you are already using IPv6 address, you need to enter it into AAAA record.
These are the operations you must undertake under each record described below:- A Record: Utilize this section to input an IP address of the server that you want to host your website on, and the hostname itself. The hostname will precede your domain name.
- AAAA Record: Enter the IPv6 address of the server you are hosting your website on and the hostname itself to this space. The hostname will precede your domain name.
- CNAME Record: The CNAME Record performs the function of A Record’s alias by pointing a subdomain to an A Record. This entails that if the A Record of a website changes, CNAME will accompany it to the new address. To put www in URL, click on CNAME record and type/fill out the two fields.
- MX Record: The MX Record fields must have the hostname so that mails can be correctly sent to you through the hostname Mail Servers. It is possible to prioritize which mails comes through which mail servers. You may something like: mail1.goodfoods.com, mail2.goodfoods.com, and so on. The numbers depict their levels of priority.
- Conclusion and propagation: Once you have filled in all the required information, your Name Server information will be filled in automatically. Then you can wait for a few hours for the new information to propagate. In case you need more in-depth assistance about how to set up DigitalOcean as your hostname, you may request for technical support from the company.
The main advantage of using a service like DigitalOcean is to have the unique opportunity of hosting your domain name server in an environment where you have some level of control. Also, hosting a website in the cloud increases its speed and efficiency.


