If you are spinning a new Ubuntu 20 server, you may need to create a new non-root user with sudo privileges. Logging on your Linux server as the root is not a good practice because a single mess can wipe your entire server.
Creating a new user with sudo permissions allows you to do administration tasks with elevated privileges only when necessary. Also, most administrators find it safer to disable root login because it can be potentially dangerous if the password of the server is compromised.
So on top of protecting your Ubuntu 18.04 server with authentication keys, you should create a new user with sudo privileges. Only add users who you want to do administrative tasks on the sudo group.
Sudo is an acronym for “superuser do” and is simply a program that allows a currently logged in user to run programs with the privileges of a super admin. In this guide, we are going to show you how to do this on you VPS machine running Ubuntu 20 operating system.
Prerequisites
- Ubuntu 20 VPS
- Root access to your Linux machine
Step 1: Connect to your server
Before you create the new user, we need to connect to the server. You can use Putty if you are using Windows or any other command line tool that allows secure connections via SSH. Remember, you will need your server’s public IP address and your root user’s password.
Step 2: Add the new user
Once you are connected to the server. Run the command adduser to create your new user. Please note you can also use the natively binary compiled useradd command but it is less user-friendly than the Perl script adduser command.
So, on a terminal window, type the following:
sudo adduser
Remember to replace username with the preferred name of your new user. For instance, if you want to add a new user called ‘james’ the syntax should be:
sudo adduser james
You will be prompted to enter a password for the new user, Full Name, Room number and phone details. You can press Enter if you don’t want to enter a value. Then, press Y once you get a prompt to confirm the details as shown below:
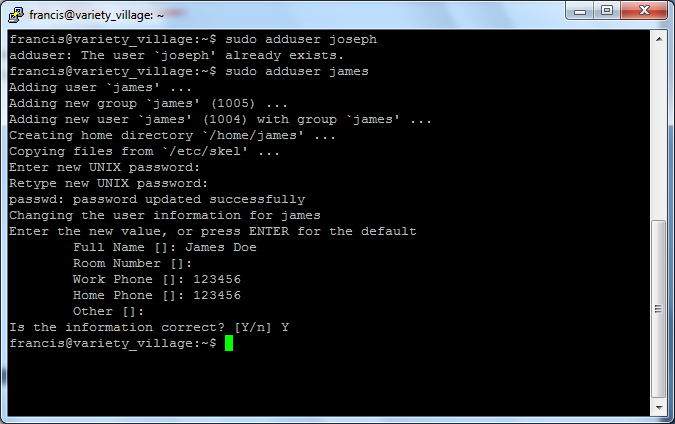
Please note if a duplicate is detected, you will get the error below:
- useradd: user already exists
Step 3: Add the new user to the sudo group
Your new user above is created with regular privileges and if you try to run any sudo task, you will get an error like, “james is not in the sudoers file. This incident will be reported.” In order to allow the user to do administrative tasks e.g. rebooting the server, creating new users or installing applications, we need to run the command below:
sudo usermod -aG sudo james
Remember to replace “james” with the username that you created above.Your new user should be successfully added to the sudo program.
Step 4: Testing the new user
We can use the su command on our Ubuntu 18.04 server to switch to the new user that we created above; su is an acronym for substitute user. It allows the currently logged in user to change the session without having to logout first.
To do this, we run the command below:
su - james
Output:

You can try to run a command like sudo dpkg-reconfigure tzdata to see if your new user can run administrative task.
Output
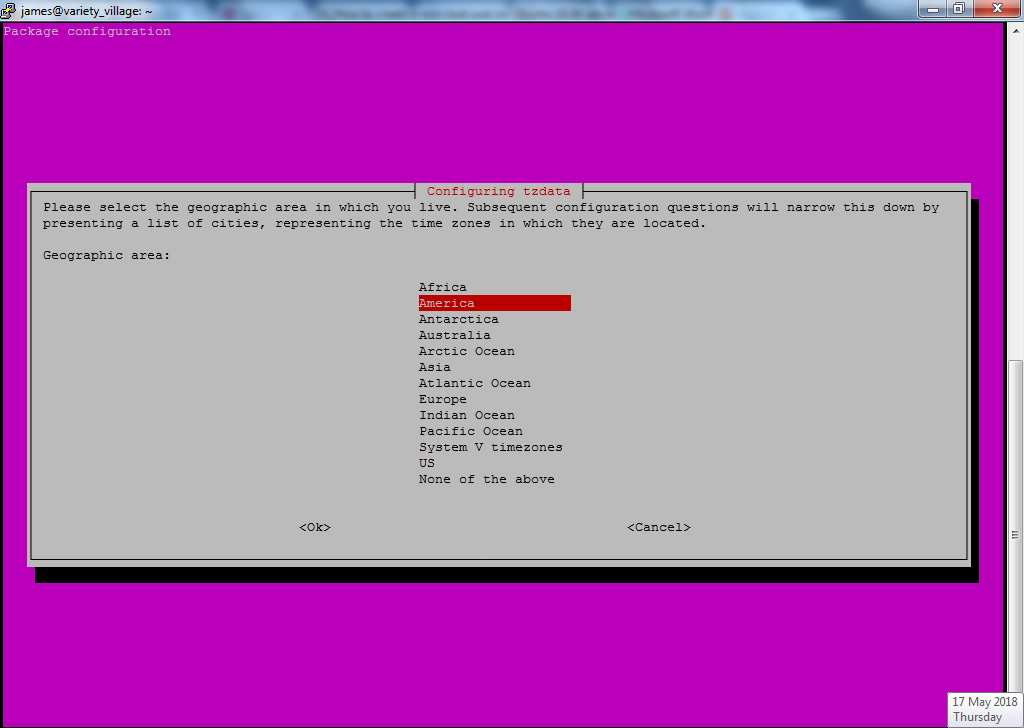
If you see the output above, your new user has been successfully added to the list of sudoers.
Conclusion
Creating a non-root user with sudo privileges is not complicated if you follow the above steps. This will provider a safer manner for your Ubuntu 18.04 server administrators to do tasks while minimizing potential dangers. Also running tasks as non-root users is very useful when your server goes live because it makes more difficult for malicious programs to access your critical files. Remember, you can create more sudo users as necessary by repeating the procedure above.