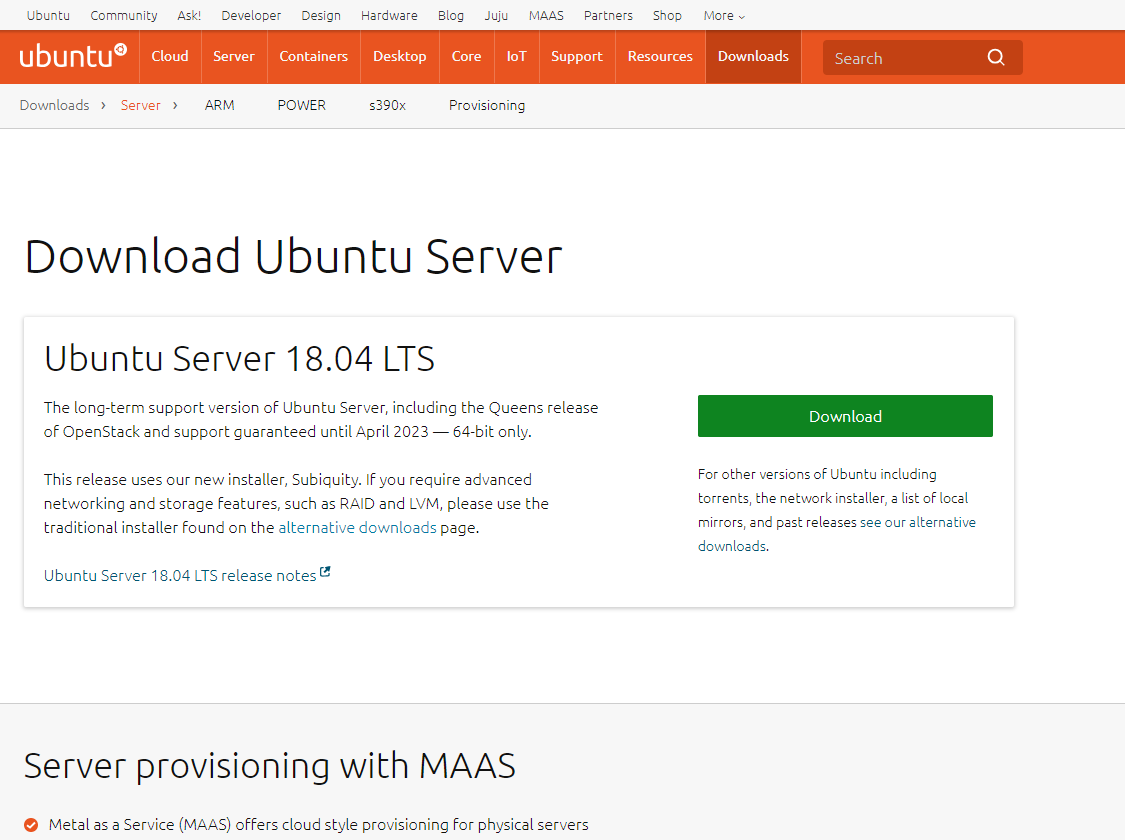
first of all, you need to download the iso
http://releases.ubuntu.com/18.04/ubuntu-18.04-live-server-amd64.iso.torrent

then you can install it on your pc, or use some virtualizer like vmware or virtualbox
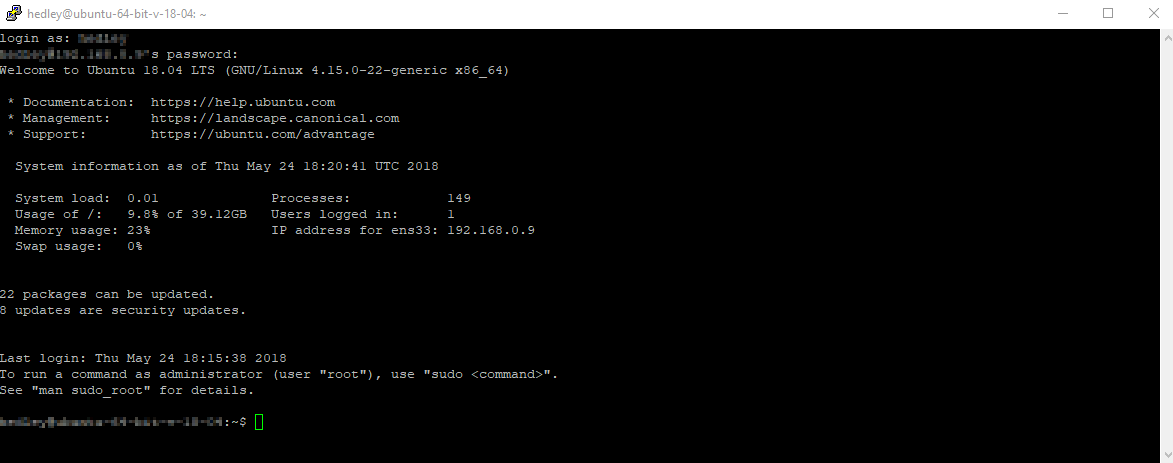
After installing ubuntu 18 server. In my case, I am using a virtualizer and for my confort, I use SSH client. I use putty:
after logging, you will have something like this:

Enabling root login
Once the Ubuntu 18 server has been set up, all we need to do is modify /etc/ssh/sshd_config and add the line PermitRootLogin yes underneath the Authentication heading.
sudo nano /etc/ssh/sshd_configsshd_config:
#Authentication:
#LoginGraceTime 2m
PermitRootLogin yes
#StrictModes yes
#MaxAuthTries 6
#MaxSessions 10
Once that’s done, we just need to restart the ssh server
sudo systemctl restart sshd
Now, we need to make sure the root user has a password, if not, we can set one now.
sudo passwd
Enter the new root password, once that’s done, try logging in as root with SSH, it should work now!
For ubuntu 16, install first the next:sudo apt-get install openssh-server
To prevent all your clients from timing out you need to edit /etc/ssh/sshd_config which is the server side configuration file add these two options:
ClientAliveInterval 120
ClientAliveCountMax 720
Configure ftp server
install ftp
apt-get install vsftpd
then open the next file:
nano /etc/vsftpd.conf
and put the next options as follows:
anonymous_enable=NO
local_enable=YES
write_enable=YES
local_umask=022
finally we restart the service
sudo service vsftpd restart
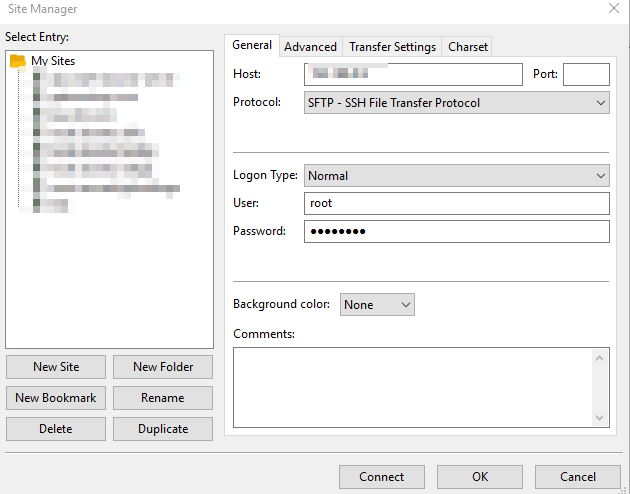
then you can use a ftp client to log


