This tutorial will teach you how to setup WordPress on your Ubuntu 20.04 server with a LEMP stack.
WordPress on LEMP with Let’s Encrypt
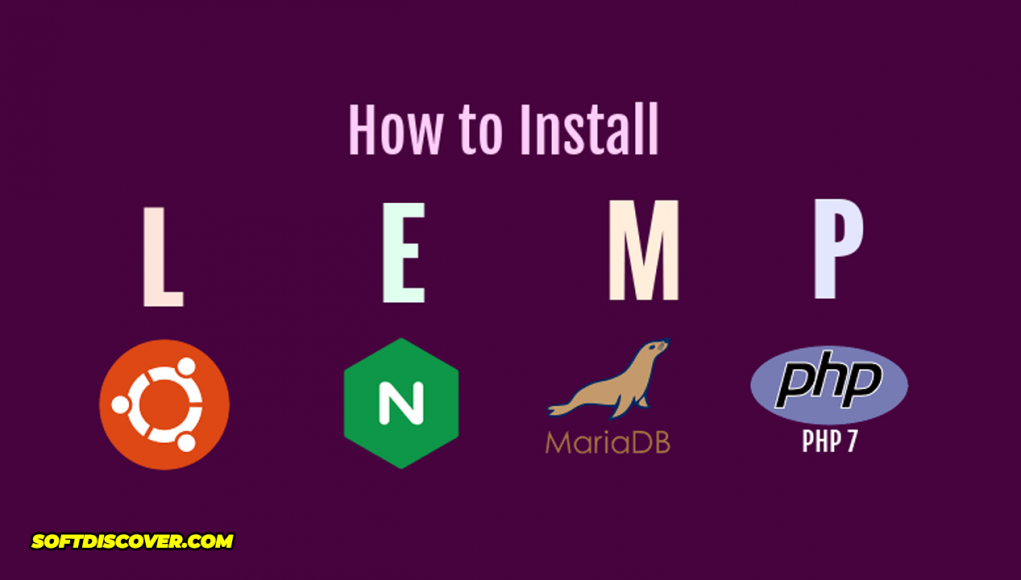
What is LEMP?
This is an acronym that describes a Linux operating system, with an Nginx (pronounced like “Engine-X”) web server, a MySQL / MariaDB database server and the dynamic processing is handled by PHP.
What is Let’s Encrypt?
Let’s Encrypt is a Certificate Authority (CA) that provides an easy way to obtain and install free TLS/SSL certificates, thereby enabling encrypted HTTPS on web servers. It simplifies the process by providing a software client, Certbot, that attempts to automate most (if not all) of the required steps.
Prerequisites
A server (I run my servers on DigitalOcean*) Ubuntu 20.04 installed SSH access
* Signing up to DigitalOcean via that link, you receive a $50, 30-day credit as soon as you add a valid payment method to your account.
Installation steps
Step 1: Create a sudouser
Since we will be completing the steps in this guide using a non-root user with sudo privileges, we need to create a user for that.
Skip this step if you already have it
# Login as root
$ ssh root@your_server_ip

# Create a new user
$ adduser santa

# Setup root privileges
$ usermod -aG sudo santa
Highly recommended to setup SSH Public Key authentication and disabling password login. You can find out on how to do so on this Linuxize article
Before you log out from your root session, you should test your new user login in a new terminal, on your local machine
# Login
$ ssh santa@your_server_ip

# Test sudo abilities
$ sudo ufw app list
Step 2: Setup the firewall
Ubuntu 18.04 servers comes by default with the UFW firewall, and can be setup to make sure only certain connections are allowed.
# Allow access on SSH port
$ sudo ufw allow 22

# Allow access on HTTPS port
$ sudo ufw allow 443

# Enable the firewall
$ sudo ufw enable
# Check firewall status
$ sudo ufw status
Step 3: Install Nginx web werver
Installing Nginx is pretty straight forward:
# Install Nginx
$ sudo apt-get update && sudo apt-get install nginx
Then just open a new browser tab, enter your server IP Address and you should see a
Welcom to nginx!
message.
Step 4: Install MySQL database server
Here we’re going to use MySQL, but alternatively you could also use MariaDB. More about it on this Linuxize article
# Install MySQL
$ sudo apt-get install mysql-server

# Configure the Installation
$ mysql_secure_installation
You’ll be prompted to answer some questions. We recommend you answer as follows:
NOTE: Make sure you remember your MySQL password, as you’ll be using it later on.
Enter current password for root (enter for none): Just press the Enter
Set root password? [Y/n]: Y
New password: Enter password
Re-enter new password: Repeat password
Remove anonymous users? [Y/n]: Y
Disallow root login remotely? [Y/n]: Y
Remove test database and access to it? [Y/n]: Y
Reload privilege tables now? [Y/n]: Y
Next, create the database, user and password for WordPress.
# Login to your database server
$ mysql -u root -p
# Create a new database for WordPress
mysql> CREATE DATABASE wordpress DEFAULT CHARACTER SET utf8 COLLATE utf8_unicode_ci;
# Create a separate MySQL user account that we will use exclusively to operate on our new database
# wordpressuser and password are the credentials, but you should swap for your custom ones
mysql> GRANT ALL ON wordpress.* TO 'wordpressuser'@'localhost' IDENTIFIED BY 'password';
# Flush the privileges so that the current instance of MySQL knows about the recent changes we’ve made
mysql> FLUSH PRIVILEGES;
# Exit out of MySQL console
mysql> EXIT;
Step 5: Install PHP
In this step we’ll install the PHP extensions required for WordPress to run and for Nginx to process PHP
php-fpm
# Install PHP packages
$ sudo apt-get install php-fpm php-mysql php-curl php-gd php-mbstring php-mcrypt php-xml php-xmlrpc php-intl php-zip

# Find out which PHP 7 version you have
$ php -v | head -1
We need to know which PHP 7 version, because next step is to configure the PHP Processor. Replace 7.2 with your version… i.e.: 7.0
# Open the main php-fpm pool configuration file
$ sudo nano /etc/php/7.2/fpm/pool.d/www.conf
In there you are to add or uncomment the line that contains the following:
security.limit_extensions
ending up with the following value:
security.limit_extensions = .php
You can find more about the above, on this Server Fault thread
# Configure the PHP processor
$ sudo nano /etc/php/7.2/fpm/php.ini
And adjust the following values:
memory_limit = 256M
upload_max_filesize = 10M
cgi.fix_pathinfo = 0
max_execution_time = 360
date.timezone = Europe/Berlin
And finally
# Restart PHP
$ service php7.2-fpm restart
Step 6: Configure Nginx to serve PHP
We need a few minor adjustments to our Nginx server block files to be able to serve PHP / WordPress.
Replace
your_domain.com
with your actual domain.
# Create a few directories required for Nginx configuration
$ sudo mkdir /etc/nginx/sites-available && sudo mkdir /etc/nginx/sites-enabled

# Create your virtual host
$ sudo nano /etc/nginx/sites-available/your_domain.com
This set of instructions will tell Nginx to listen for requests to
your_domain.com
and server your WordPress site.
server {
    listen 80 default_server;
    listen [::]:80 default_server ipv6only=on;

    root /var/www/html;
    index index.php index.html index.htm;

    server_name your_domain.com;

    client_max_body_size 10M;

    location / {
        try_files $uri $uri/ /index.php?$args;
    }

    location ~ \.php$ {
        try_files $uri =404;

        fastcgi_split_path_info ^(.+\.php)(/.+)$;
        fastcgi_pass unix:/var/run/php/php7.2-fpm.sock;
        fastcgi_index index.php;
        include /etc/nginx/snippets/fastcgi_params;
        fastcgi_param SCRIPT_FILENAME $document_root$fastcgi_script_name;
    }

    # Disable logging for these static requests and will mark them as
    # highly cacheable since these are typically expensive resources to serve
    location = /favicon.ico { log_not_found off; access_log off; }
    location = /robots.txt { log_not_found off; access_log off; allow all; }
    location ~* \.(css|gif|ico|jpeg|jpg|js|png)$ {
        expires max;
        log_not_found off;
    }

    # SECURITY : Deny all attempts to access PHP Files in the uploads directory
    location ~* /(?:uploads|files)/.*\.php$ {
        deny all;
    }

    # Deny access to .ht* files
    location ~ /\.ht {
        deny all;
    }
}
Last thing remaining is to enable the site and restart Nginx
# Create a simlink to enable your virtual host
$ sudo ln -s /etc/nginx/sites-available/your_domain.com /etc/nginx/sites-enabled/your_domain.com

# Restart nginx server
$ sudo service nginx restart
Step 7: Download and configure WordPress
# Download latest WordPress version
$ cd /tmp && wget https://wordpress.org/latest.tar.gz

# Unpack it
$ tar -zxvf latest.tar.gz

# Move it from tmp to /var/www
$ sudo rm -rf /var/www/html && sudo mv wordpress /var/www/html

# Generate WordPress secrets (Copy them somewhere)
$ curl -s https://api.wordpress.org/secret-key/1.1/salt/

# Edit WordPress configuration
$ sudo mv /var/www/html/wp-config-sample.php /var/www/html/wp-config.php && sudo nano /var/www/html/wp-config.php
These are WordPress configuration parameters that you need to adjust in order to establish a connection between your application and the database.
// ** MySQL settings - You can get this info from your web host ** //
/** The name of the database for WordPress */
define('DB_NAME', 'wordpress');
/** MySQL database username */
define('DB_USER', 'wordpressuser');
/** MySQL database password */
define('DB_PASSWORD', 'password');
/** MySQL hostname */
define('DB_HOST', 'localhost');
/** Database Charset to use in creating database tables. */
define('DB_CHARSET', 'utf8');
/** The Database Collate type. Don't change this if in doubt. */
define('DB_COLLATE', '');
/**
 * Authentication Unique Keys and Salts.
 *
 * Change these to different unique phrases!
 * You can generate these using the {@link https://api.wordpress.org/secret-key/1.1/salt/ WordPress.org secret-key service}
 * You can change these at any point in time to invalidate all existing cookies. This will force all users to have to log in again.
 *
 * @since 2.6.0
 */
define('AUTH_KEY',         'put your unique phrase here');
define('SECURE_AUTH_KEY',  'put your unique phrase here');
define('LOGGED_IN_KEY',    'put your unique phrase here');
define('NONCE_KEY',        'put your unique phrase here');
define('AUTH_SALT',        'put your unique phrase here');
define('SECURE_AUTH_SALT', 'put your unique phrase here');
define('LOGGED_IN_SALT',   'put your unique phrase here');
define('NONCE_SALT',       'put your unique phrase here');
Finally, set the permissions right
$ sudo chown -R www-data:www-data /var/www/html/ && sudo chmod -R 755 /var/www/html/
Step 8: Obtain and configure the SSL Certificate with Let’s Encrypt
# First, add the Certbot repository
$ sudo add-apt-repository ppa:certbot/certbot

# Install Certbot and Certbot Nginx plugin
$ sudo apt-get update && sudo apt-get install python-certbot-nginx

# Obtain your free Let’s Encrypt SSL/TLS certificate
$ sudo certbot --nginx -m [email protected] -d your_domain.com
Follow the configuration steps followed by the command above and when it comes to
Choose whether or not to redirect HTTP traffic to HTTPS, removing HTTP access.
choose
2
Please choose whether or not to redirect HTTP traffic to HTTPS, removing HTTP access.
- - - - - - - - - - - - - - - - - - - - - - - - - - - - - - - - - - - - - - - -
1: No redirect - Make no further changes to the webserver configuration.
2: Redirect - Make all requests redirect to secure HTTPS access. Choose this for
new sites, or if you're confident your site works on HTTPS. You can undo this
change by editing your web server's configuration.
- - - - - - - - - - - - - - - - - - - - - - - - - - - - - - - - - - - - - - - -
Select the appropriate number [1-2] then [enter] (press 'c' to cancel): 2
After that, Let’s Encrypt Client has installed your certificate and configured your website to redirect all traffic to HTTPS.
If you check your site’s Nginx configuration file,
/etc/nginx/sites-available/your_domain.com
, you’ll notice that some modifications have been made by the Let’s Encrypt client.
. . .

    listen 443 ssl; # managed by Certbot
    ssl_certificate /etc/letsencrypt/live/your_domain.com/fullchain.pem; # managed by Certbot
    ssl_certificate_key /etc/letsencrypt/live/your_domain.com/privkey.pem; # managed by Certbot
    include /etc/letsencrypt/options-ssl-nginx.conf; # managed by Certbot
    ssl_dhparam /etc/letsencrypt/ssl-dhparams.pem; # managed by Certbot
}
server {
    if ($host = your_domain.com) {
        return 301 https://$host$request_uri;
    } # managed by Certbot


    listen 80;
    server_name your_domain.com;
    return 404; # managed by Certbot
}
Your WordPress site is now ready to be used over HTTPS.
Step 9: Finalize the WordPress Installation
The final step is to complete the WordPress installation through the web interface. To do this, just navigate in your browser to your domain
https://your_domain.com
and you’ll be guided through the easy process of installing WordPress.